 x4
x4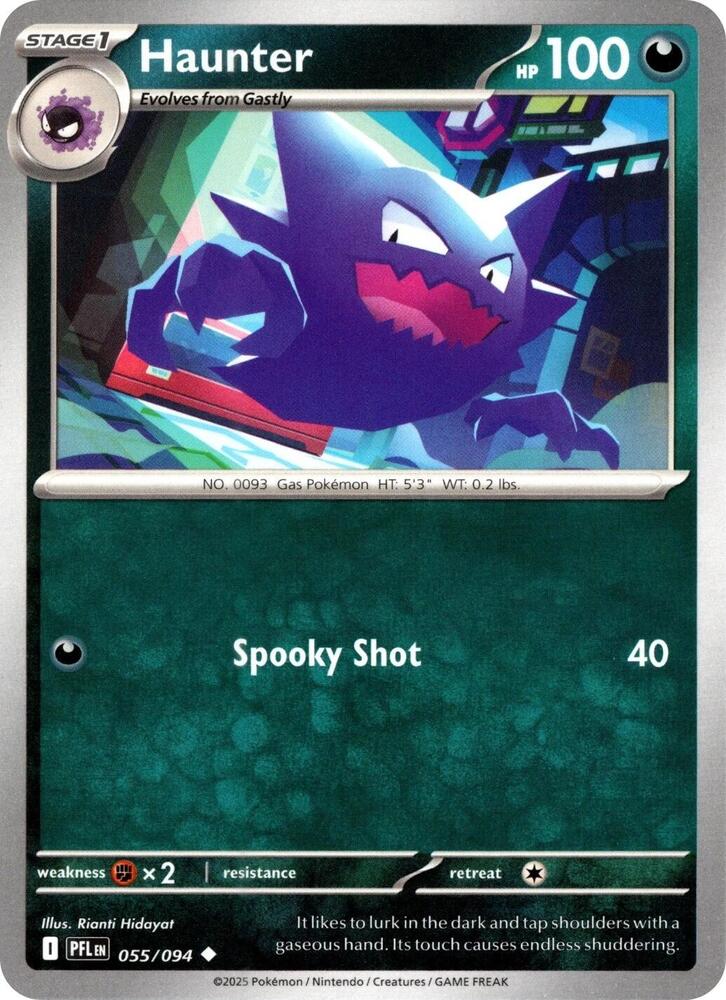 x2
x2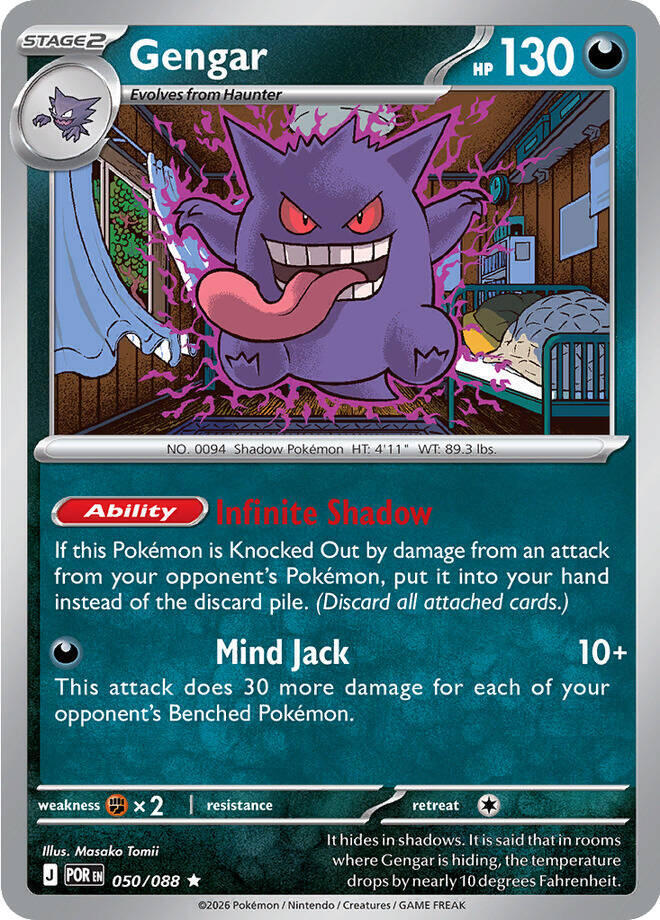 x3
x3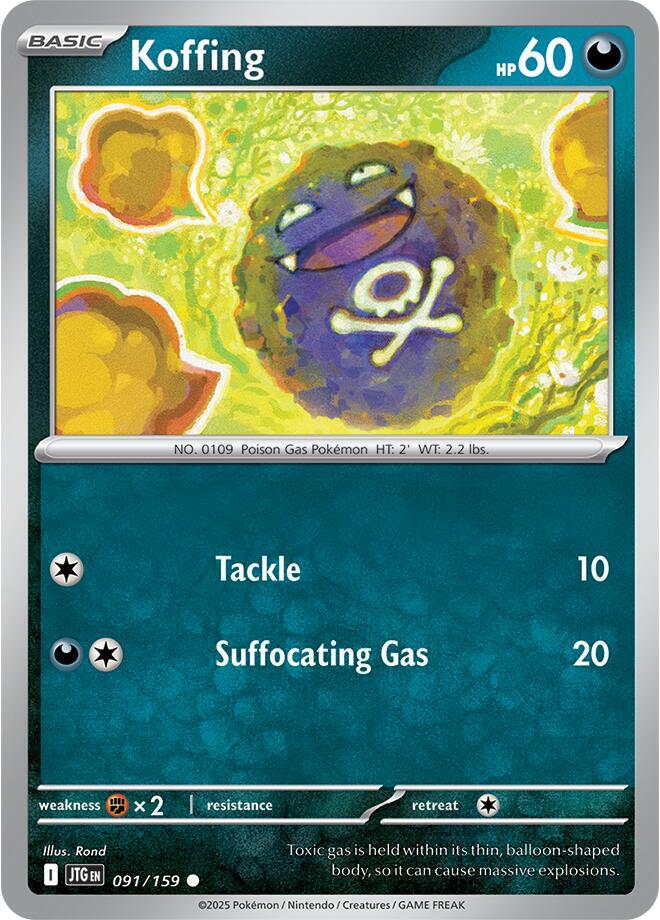 x3
x3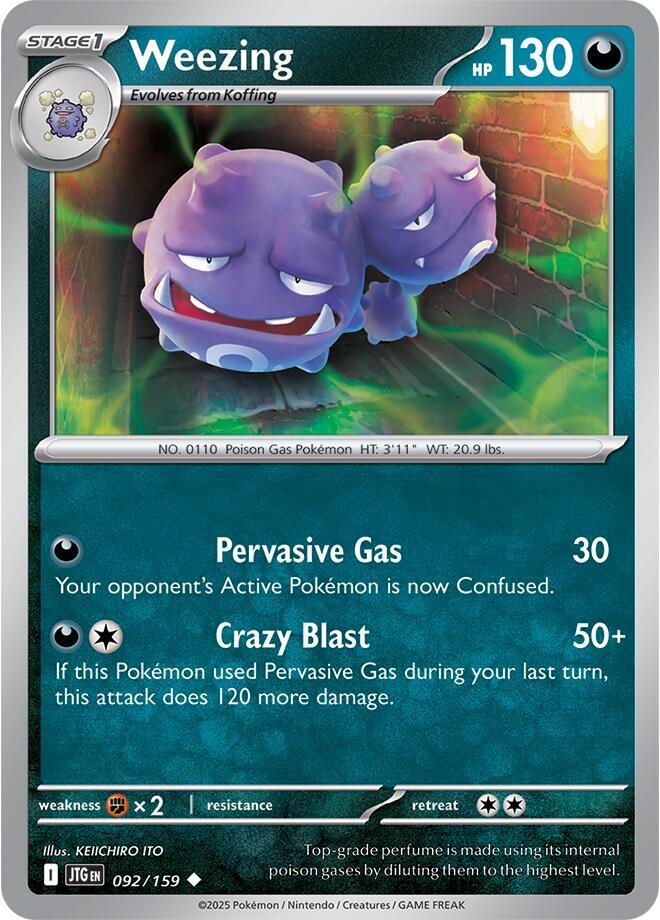 x3
x3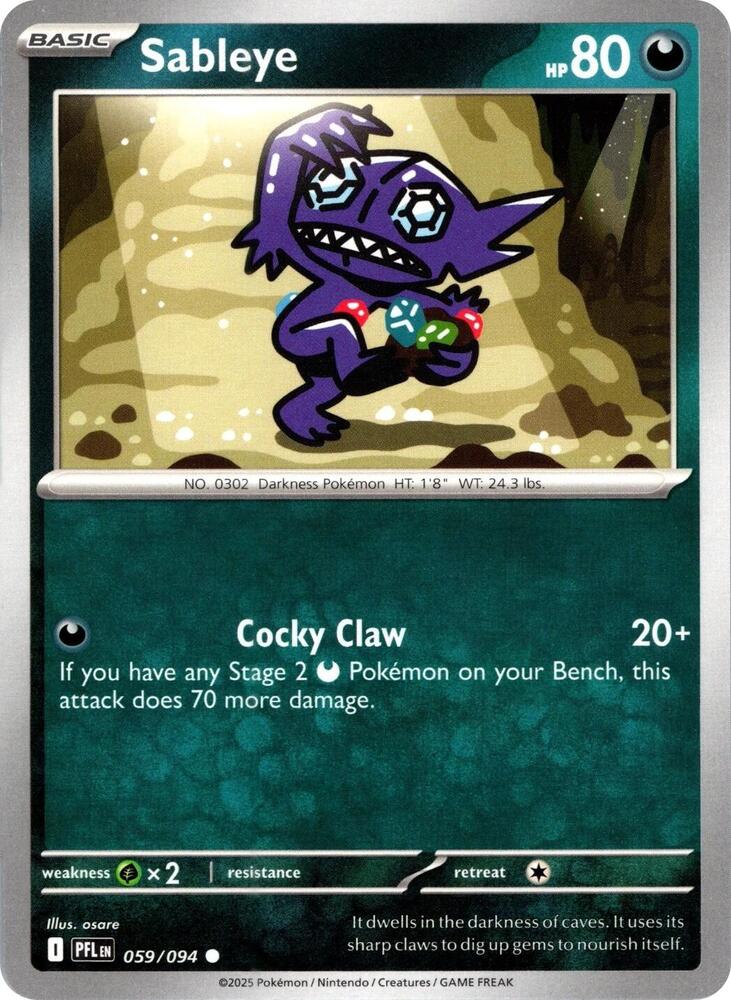 x2
x2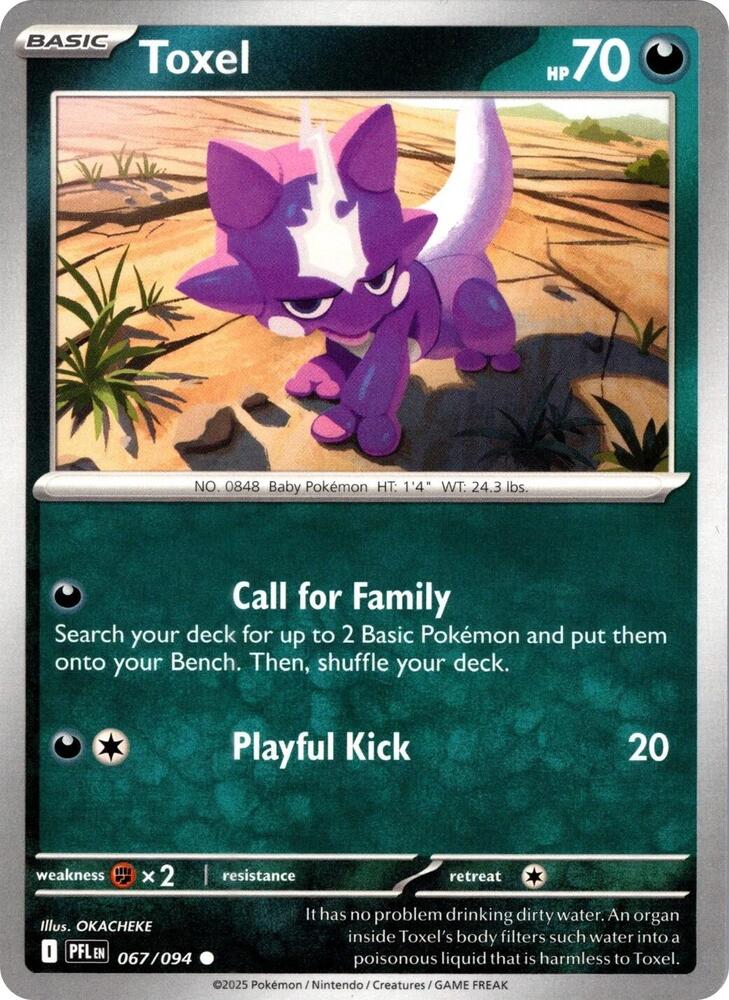 x2
x2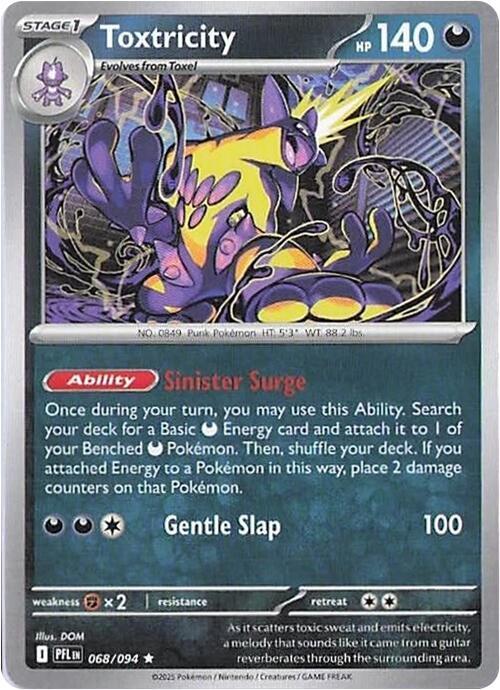 x2
x2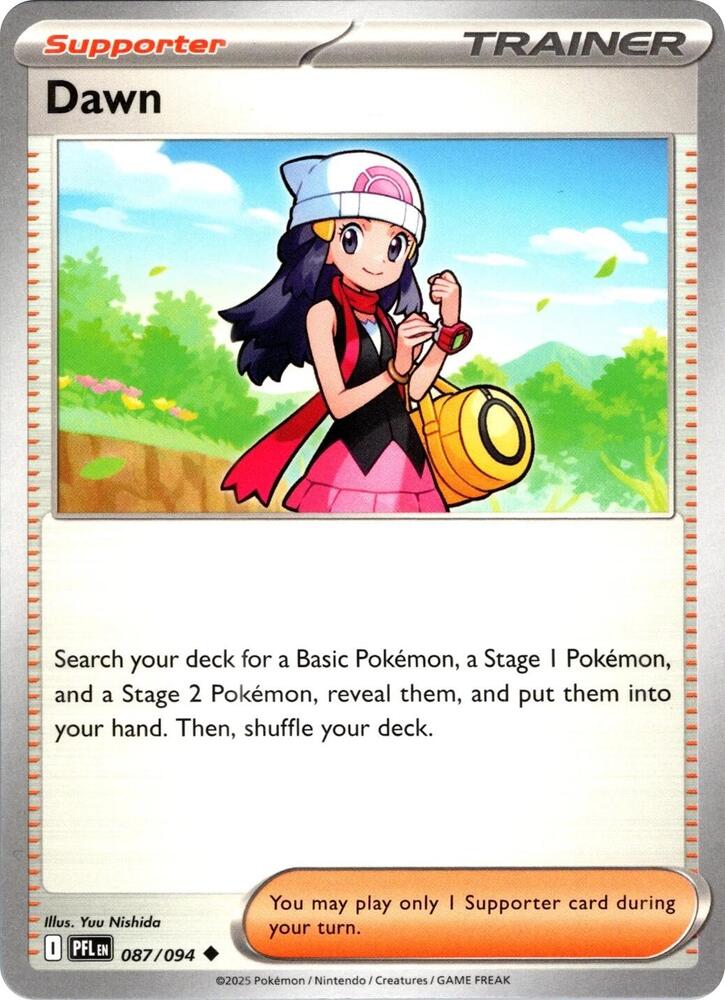 x3
x3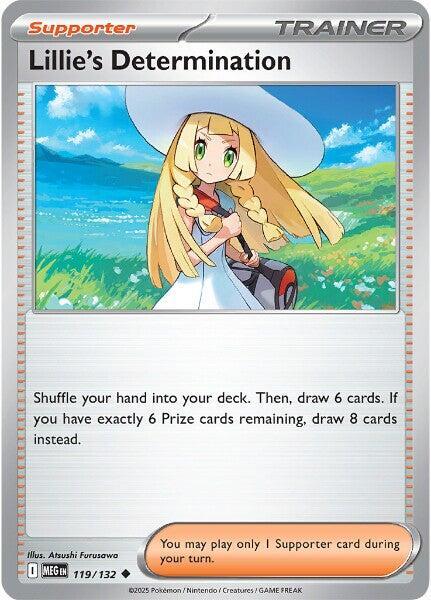 x2
x2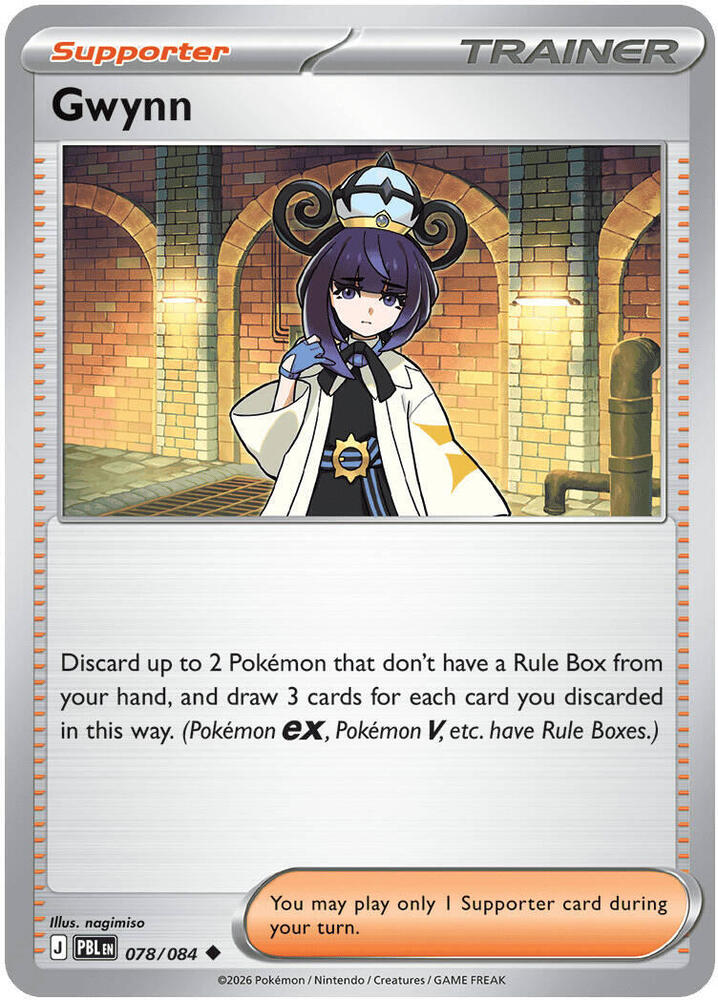 x2
x2![Boss's Orders [Ghetsis]](./assets/654453_bosss-orders-ghetsis.jpg) x3
x3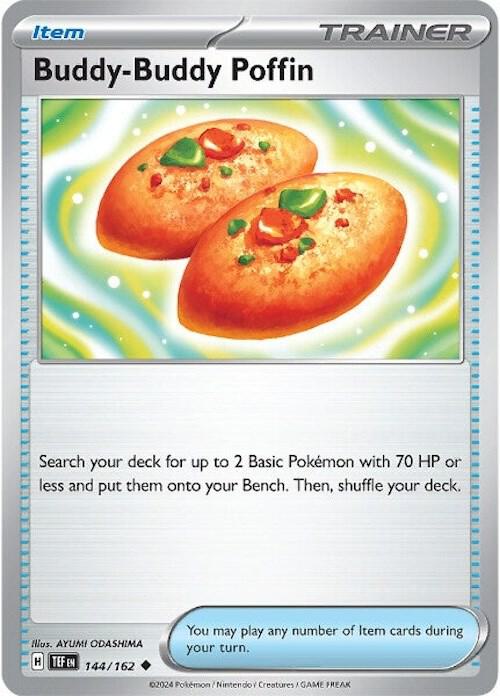 x4
x4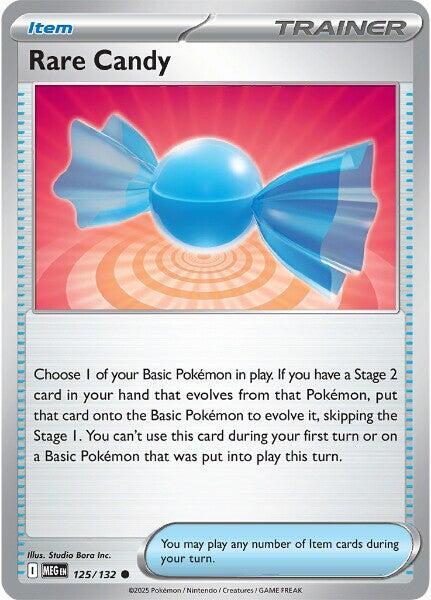 x3
x3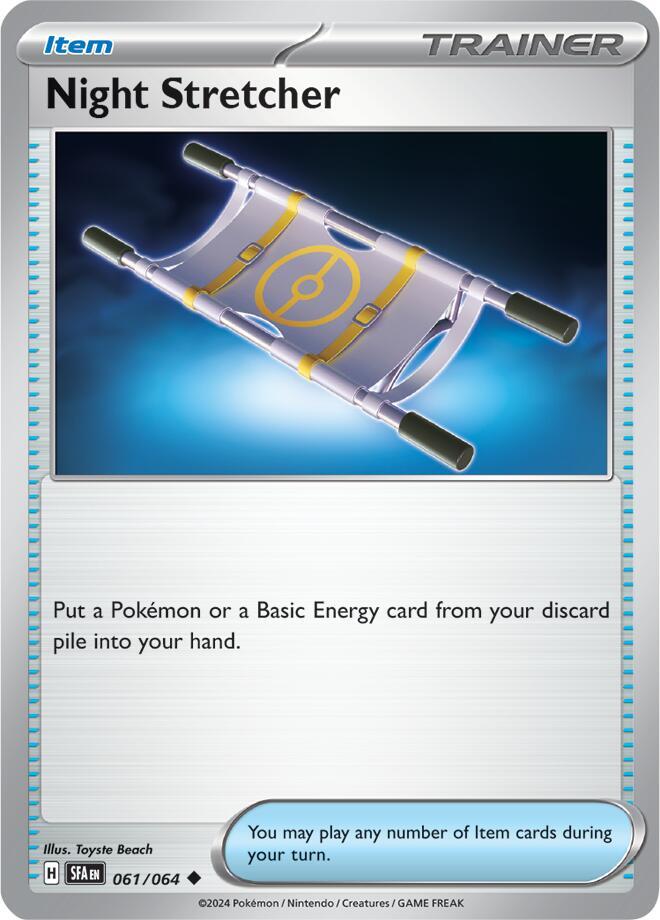 x4
x4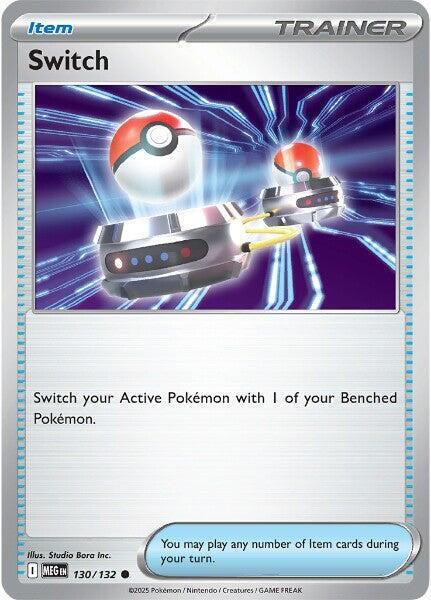
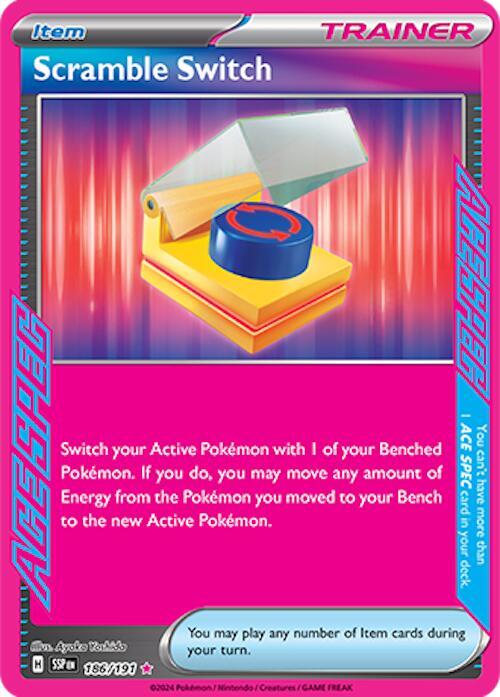
 x2
x2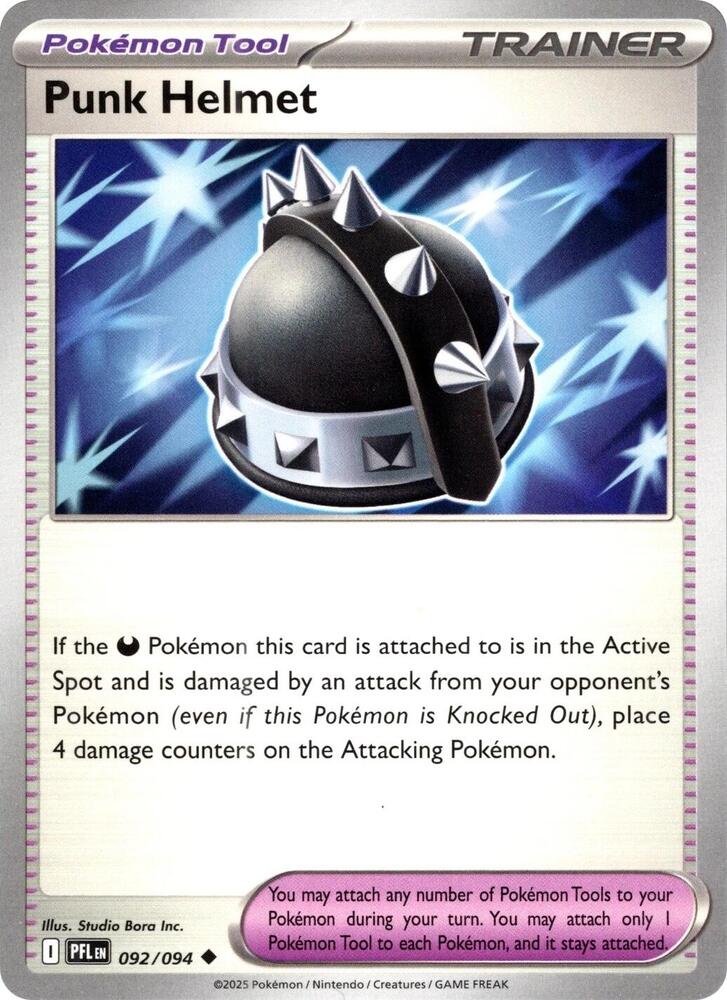 x2
x2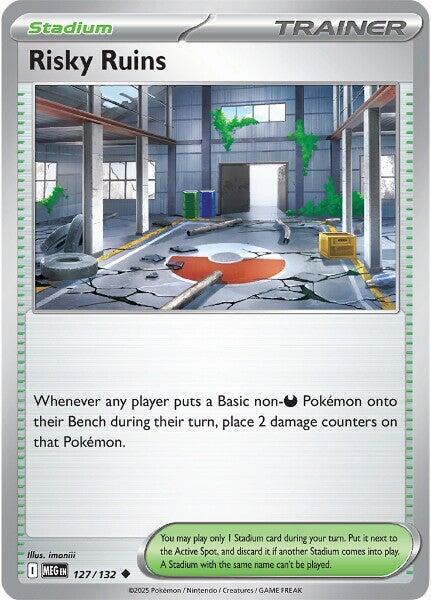 x2
x2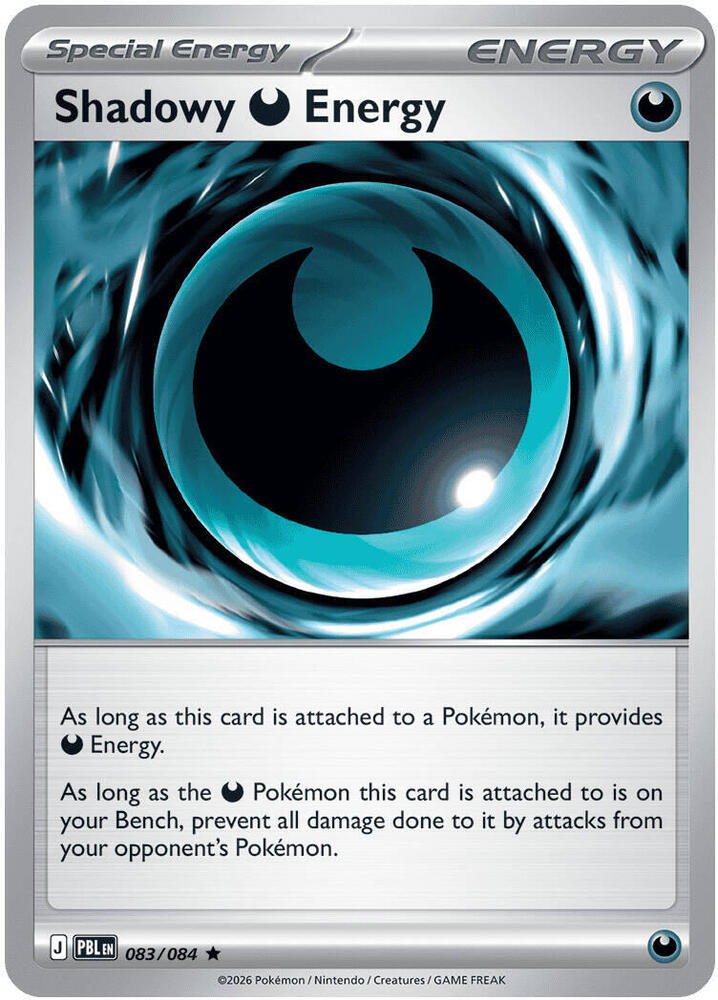 x2
x2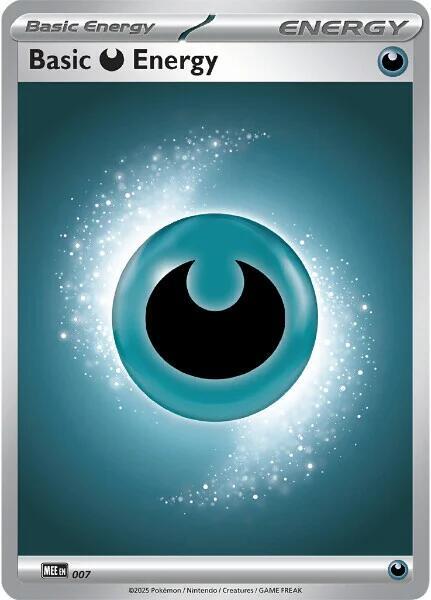 x8
x8 Xero's Gengar Gang
 x4x2x3x3x3x2x2x2x3x2x2x3x4x3x4x2x2x2x2x8
Pokémon (21)
| Qty | Card | Set | Number | Reg |
|---|---|---|---|---|
| 4 | Gastly | Perfect Order | 048 | J |
| 2 | Haunter | Phantasmal Flames | 055 | I |
| 3 | Gengar | Perfect Order | 050 | J |
| 3 | Koffing | Journey Together | 091 | I |
| 3 | Weezing | Journey Together | 092 | I |
| 2 | Sableye | Phantasmal Flames | 059 | I |
| 2 | Toxel | Phantasmal Flames | 067 | I |
| 2 | Toxtricity | Phantasmal Flames | 068 | I |
Trainers — Supporters (10)
| Qty | Card | Set | Number | Reg |
|---|---|---|---|---|
| 3 | Dawn | Phantasmal Flames | 087 | I |
| 2 | Lillie's Determination | Mega Evolution | 119 | I |
| 2 | Gwynn | Pitch Black | 078 | J |
| 3 | Boss's Orders [Ghetsis] | Mega Evolution | 114 | I |
Trainers — Items (15)
| Qty | Card | Set | Number | Reg |
|---|---|---|---|---|
| 4 | Buddy-Buddy Poffin | Temporal Forces | 144 | H |
| 3 | Rare Candy | Mega Evolution | 125 | I |
| 4 | Night Stretcher | Shrouded Fable | 061 | H |
| 1 | Switch | Mega Evolution | 130 | I |
| 1 | Scramble Switch | Surging Sparks | 186 | H |
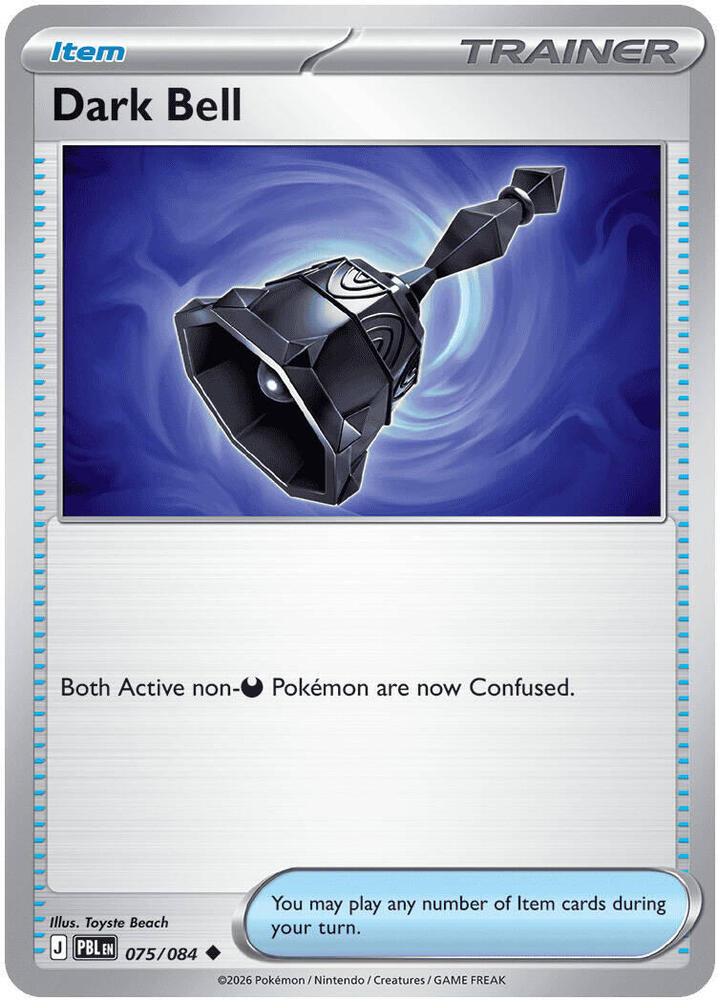
| 2 | Dark Bell | Pitch Black | 075 | J |
Trainers — Tool & Stadium (4)
| Qty | Card | Set | Number | Reg |
|---|---|---|---|---|
| 2 | Punk Helmet | Phantasmal Flames | 092 | I |
| 2 | Risky Ruins | Mega Evolution | 127 | I |
Energy (10)
| Qty | Card | Set | Number | Reg |
|---|---|---|---|---|
| 2 | Shadowy Darkness Energy | Pitch Black | 083 | J |
| 8 | Basic Darkness Energy | Mega Evolution Energies | 007 | — |
21 + 10 + 15 + 4 + 10 = 60. ✓


 Darkness
 Fighting ×2
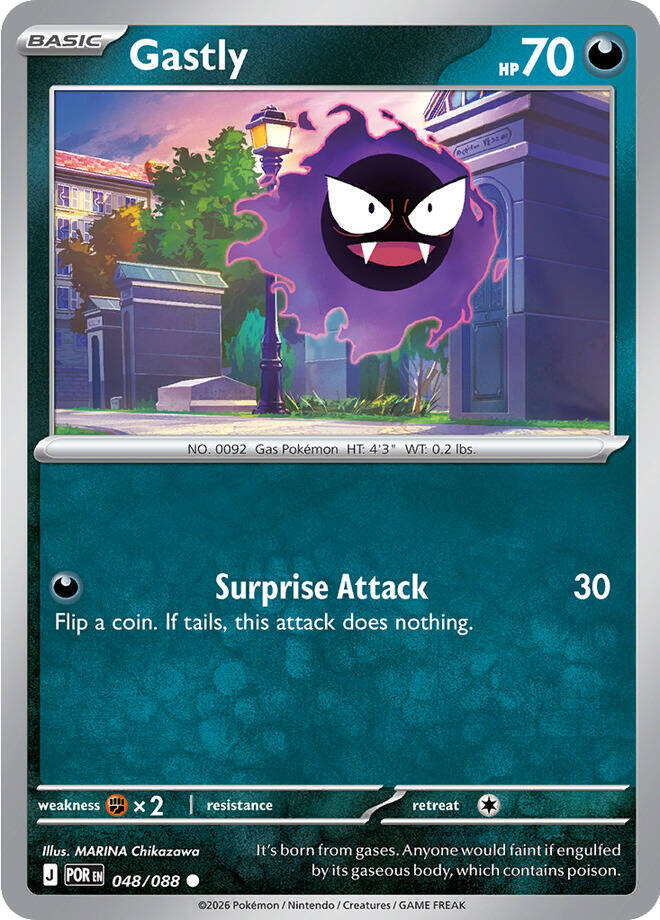
 1Surprise Attack 30— Flip a coin. If tails, this attack does nothing.
gastly → haunter → gengar
Gastly is a seed, not a fighter. Its entire job is to be sitting on your Bench on turn one so that something better can be placed on top of it later. You run the maximum four copies not because Gastly is good but because you cannot build a Gengar without one, and drawing zero Basic Pokémon means you have to mulligan.
Do not fall in love with Surprise Attack. A coin flip for 30 is a last resort — the attack you use when your board fell apart and you have nothing else. Treat it as a way to not waste a turn, never as a plan.
The Perfect Order print is specifically the one you want. 70 HP instead of 60 is not a rounding error: it is the difference between surviving a Charmander's opening poke and not, and — critically — 70 HP is exactly the ceiling for Buddy-Buddy Poffin. A 60 HP Gastly would still work; an 80 HP one would not.
The most common beginner mistake with this card is playing one Gastly and holding the rest. Play them. Two or three Gastly on the Bench early is not overcommitting — it is insurance, because your opponent can only knock out one thing per turn, and every Gastly you did not bench is a Gengar you cannot build later.
The one real cost of a wide Bench is that some decks draw more the more Pokémon you have in play. That is a price worth paying almost every time.

 DarknessFighting ×21Spooky Shot 40
gastly → haunter → gengar
Haunter is the slow road to Gengar. When you have Rare Candy you skip it entirely; when you do not, Haunter is how you get there anyway. Only two copies are in the deck because it is a backup route, not the main one.
Spooky Shot for a flat 40 with no coin flip is quietly useful — it is more reliable damage than Gastly's attack, and 40 is enough to finish off something the opponent left damaged.
Here is the timing rule that matters: Rare Candy cannot be used on your first turn, and cannot be used on a Basic you played that same turn. So the fastest possible Gengar is turn two — bench Gastly turn one, Candy it turn two. If you miss that window, Haunter becomes your path, and evolving Gastly → Haunter on turn two still lets you reach Gengar on turn three.
That means Haunter is rarely a wasted play even when you do draw Rare Candy later. A Haunter on the board on turn two is a Gengar on turn three. A Gastly on the board on turn two that is waiting for a Candy might be a Gengar on turn three, or might be a Gastly on turn five.
DarknessFighting ×21Mind Jack 10+— Does 30 more damage for each of your opponent's Benched Pokémon.gastly → haunter → gengar
Gengar is the closer, and it is a punisher. It costs one single Darkness Energy and its damage is decided entirely by how greedy your opponent has been with their Bench. Against a wide board it hits like a truck for one Energy. Against an empty board it does 10.
Learn this table. It is the most important arithmetic in the deck:
Read that table against HP tiers rather than against one opponent. A four-Bench Mind Jack at 130 clears the entire single-prize tier — the 50 to 130 HP Basics and Stage 1s every deck is built out of. A five-Bench 160 adds most Stage 2 non-ex.
What it can never do is clear the ex tier. Mind Jack maxes at 160, and Pokémon ex start around 190 and run past 300. Gengar is the card that farms a board; it is not the card that kills their best thing. That job belongs to Weezing, and past that to Punk Helmet softening the target first.
The Boss's Orders trap. Boss's Orders pulls one of your opponent's Benched Pokémon into the Active Spot — which removes it from their Bench and therefore lowers Mind Jack by 30. If they have five on the Bench and you Boss up a 70 HP Basic, you are now hitting for 130, not 160. That is still plenty to kill the Basic, but if you were counting on 160 to finish something wounded, you just talked yourself out of 30 damage. Count the Bench after the Boss, not before.
Infinite Shadow is recycling, not immortality. This is the single most misunderstood card in the deck, so be precise about it:
The right way to think about it: Infinite Shadow means you can play Gengar aggressively without fearing that a knockout ends your Gengar plan for the game. You will get it back. You just would rather not need to.
One Energy. Do not over-invest. Mind Jack costs exactly one and never wants a second. Every Energy past the first on a Gengar is an Energy that should have gone on a Weezing.

 DarknessFighting ×21 10 20
koffing → weezing
Koffing is the other seed, and unlike Gastly it only needs one step to become a real threat. That makes it the Basic you most want in your opening hand. Bench it turn one, evolve it turn two, and you are attacking with a 130 HP Weezing while your Gengar is still growing.
Tackle for is worth knowing about: it is the only attack in the deck that does not require Darkness Energy, so a Koffing can attack off a Shadowy Darkness Energy or any Energy at all in a pinch.
At 60 HP, Koffing is fragile, and every Pokémon in this deck is Weak to Fighting ×2, so any Fighting attacker erases it with a rounding error. Evolve promptly. A Koffing that sits on the Bench for three turns is a Koffing that gets sniped.
Three copies, not four, is deliberate. Weezing is the deck's workhorse, but you only ever need one Weezing in play at a time, and the extra slot buys you a Trainer that finds what you actually need.
DarknessFighting ×22 30 — Your opponent's Active Pokémon is now Confused. 50+ — If this Pokémon used Pervasive Gas during your last turn, this attack does 120 more damage.koffing → weezing
(Koffing also evolves into Galarian Weezing, a separate card kept out of this deck — see the Casual Swaps section of gengar-weezing-deck.md.)
Weezing is the engine of this deck and the card your son will hate the most. It is a two-turn combo on a single card:
Turn one — Pervasive Gas. 30 damage, and their Active is now Confused. Turn two — Crazy Blast. 50 + 120 = 170 damage.
170 is the biggest number this deck produces, and it is the only one that clears the whole single-prize tier in a single attack. Every non-ex Stage 2 Fox owns sits at or under it. It does that on the second turn of a combo that costs no Trainer cards at all.
Against a Pokémon ex it is a two-shot rather than a one-shot, with one loud exception: Darkness hits Psychic for double, so a 170 lands as 340 on his Team Rocket's Mewtwo ex.
Meanwhile the Confusion from step one means there is a 50% chance your opponent's turn in between simply does not happen.
The combo is fragile in exactly one way, and you control it. Crazy Blast checks whether this Pokémon used Pervasive Gas during your last turn. That means:
Confusion is much better than it looks. Under current rules, when a Confused Pokémon attacks, its controller flips a coin. On tails the attack does nothing, 3 damage counters (30 damage) go on the Confused Pokémon, and their turn is over. So Pervasive Gas is not "30 damage and an annoyance" — it is 30 damage plus a coin flip where heads means they attack and tails means they take another 30 and waste a turn.
And Confusion only clears when the Pokémon leaves the Active Spot. Against anything with a retreat cost of 2 or 3 that is brutal: a Confused attacker is more or less stuck there unless they spend a Switch on it.
The Weezing / Gengar handoff. These two cards want opposite boards. Weezing does a flat 170 regardless of what the opponent has benched. Gengar scales with their Bench. So: lead with Weezing while your opponent's board is thin, and close with Gengar once it has filled out. That is the whole rhythm of the deck.
 Darkness
 Grass ×21Cocky Claw 20+— If you have any Stage 2 Darkness Pokémon on your Bench, this attack does 70 more damage.
sableye — does not evolve. It fights as it is.
Ninety damage for one Energy, as a Basic, worth one Prize. The condition is a board this deck builds anyway: a Stage 2 Darkness Pokémon on your Bench, and Gengar is a Stage 2 Darkness Pokémon that spends most of the game exactly there. Sableye is the attacker for the turns Weezing is charging and the turns Gengar is waiting, which used to be the turns this deck did nothing.
Read the condition twice: "on your Bench." A Gengar sitting in the Active Spot turns Cocky Claw off. When Gengar steps forward to close with Mind Jack, know that your Sableyes drop back to 20 until it returns.
Ninety kills most of the single-prize tier on the nose, for one Energy, from a body Fox feels silly spending a big attack on. Against a deck of Pokémon ex the math is humbler, but a one-Prize 90-per-turn body is exactly the trade a two-Prize deck hates making.
The Grass Weakness is irrelevant against Fire, but his Team Rocket's Tarountula and Spidops are Grass. If Spidops is fighting, keep Sableye home.
DarknessFighting ×21 — Search your deck for up to 2 Basic Pokémon and put them onto your Bench. Then, shuffle your deck. 20toxel → toxtricity
The third seed, and the deck's best going-second play. Going second you may attack on turn one, and Call for Family is an attack that puts two more Basic Pokémon on your Bench — any Basics, no HP cap. Two extra bodies on turn one beats 10 damage every single time.
Going second, lead Toxel. Poffin plus Call for Family on turn one is four Basics from one opening hand; the board is built before Fox finishes his second turn. Going first you cannot attack, so Toxel is just a benched seed like Gastly, and that is fine too.
Toxel is fragile at 70 HP with a Fighting Weakness, and unlike Gastly it matters if it dies, because only two are in the deck. Bench it, use it, evolve it.
DarknessFighting ×22Gentle Slap 100toxel → toxtricity
The card the first build was missing. The old list attached one Energy per turn, had nothing that accelerated, and ran dry by game three; that was the loss condition more often than any attack was. Sinister Surge attaches a second Basic Darkness every turn, from the deck, to your Bench, for free. Weezings now arrive in the Active Spot already loaded.
The price is two damage counters on whatever it feeds. Read that as rent, not damage: a Weezing at 110 still does everything a Weezing at 130 does, and a Gengar that dies comes back through Infinite Shadow anyway.
Benched Darkness Pokémon only. Surge cannot feed the Active, and it cannot feed itself a target that is fighting. The rhythm is: hand attachment to the front, Surge to the back.
Choose the counter-catcher deliberately. The 2 counters go on whoever received the Energy. Good targets: a Gengar (recycles itself), a Weezing about to trade anyway, a Sableye that expects to die in one hit regardless. Bad target: a Weezing at 130 that you need to survive one more hit — two Surges put it 20 HP inside a range it was outside of.
Gentle Slap is a real attack. When both Weezings are down and Gengar is not ready, 100 flat from a 140 HP body holds the fort.
Dawn is the card that makes a Stage 2 deck possible. In one Supporter it hands you an entire Gengar line — Gastly, Haunter, Gengar — from the deck to your hand. Without a card like this, a three-stage evolution line is a fantasy you draw one third of.
Note the wording: it takes one of each stage. You cannot use it to grab three Gastly. That is fine, because one of each is precisely what you want.
Dawn is at its very best on turn one, and this is worth being deliberate about. Turn one you cannot Rare Candy anyway, so spending your Supporter to load your hand with the entire line costs you nothing and sets up a turn-two Gengar.
Compare that to spending turn one on Lillie's Determination: you draw eight random cards and hope. Dawn guarantees.
The flexible slot is the Stage 1. If your Koffing is already down and you would rather have the Weezing than the Haunter, take Weezing — you can always Rare Candy past Haunter later. Dawn does not care which Stage 1 you name.
Three copies in this build, and it is now the deck's main tutor. Ultra Ball is gone, so Dawn is how a specific Pokémon gets found. One card that hands you a Basic, a Stage 1, and a Stage 2 does Ultra Ball's job better anyway, and it never asks you to discard two cards to do it.

This is your reset button. Bad hand? Shuffle it away and draw six new cards. Because it shuffles rather than discards, nothing is lost — the cards you did not want go back into the deck where you can find them later.
The bonus condition is the interesting part: if you still have all six Prize cards, you draw eight instead of six. That is a straightforward "play me early" bonus, and eight cards is an enormous hand.
The eight-card window closes the moment you take a Prize. Once you knock something out, you are at five Prizes and Lillie's is a six-card draw forever after. So there is real tension: the 8-card mode is only available while you are still behind or even.
The clean answer for this deck: if your opening hand is genuinely bad, use Lillie's on turn one for eight cards. If your opening hand is workable, use Dawn instead and save Lillie's for when things go wrong.
Watch what you shuffle away. Lillie's shuffles your entire hand, including that Rare Candy and that Gengar you were saving. Before you play it, ask whether you are trading three good cards for six random ones. If your hand has two cards you actively need, Lillie's is usually wrong.

Gwynn turns dead Pokémon into cards. Discard up to two Pokémon from your hand, draw three each — so up to six cards for two cards you did not want anyway.
Every single Pokémon in this deck has no Rule Box, so every one of them is a legal discard. That is not an accident; it is one of the quiet payoffs for building an all-non-ex deck.
Gwynn is a late-game card. Early on, every Pokémon in your hand is something you want to play. By the middle of the game you are holding a fourth Gastly and a spare Koffing that will never see the board — that is when Gwynn is a six-card draw with no real cost.
The advanced line is deliberate discarding. If you are holding a Gengar you cannot build this turn, discarding it to Gwynn for three cards and retrieving it later with Night Stretcher is card advantage, not a loss. You paid one Item to convert a stuck card into three fresh ones.
Two copies in this build. Gwynn is conditional — it needs Pokémon in hand to do anything at all — so one copy showed up too rarely to be the draw the deck was counting on. With 21 Pokémon the fuel is plentiful, and with Lillie's down to two, Gwynn is now half of how this deck refills its hand.
This is how you decide who you fight. Your opponent puts their strong Pokémon in front and hides the wounded ones on the Bench; Boss's Orders reaches past the wall and drags out whatever you want to kill.
It is the classic finisher. In the last turns of a game, "I take my sixth Prize" is usually spelled Boss's Orders.
Target by retreat cost, not just by HP. Something at retreat 2 or 3 that you drag up wounded cannot easily be hidden again; they either attack with it and stay in range, or they burn a Switch. Learn the retreat costs on their side the way you already count their Bench.
Then target by Weakness. Every Pokémon in this deck is Weak to Fighting ×2, so any Fighting attacker they play is the card that genuinely threatens you and the one worth spending a Boss's Orders on early. In the other direction, Darkness doubles into Psychic, so a benched Psychic ex is a Boss's Orders away from a one-shot.
Three copies, and still not a card to waste. Boss's Orders is not a draw card and not a setup card. If playing it does not take a Prize this turn or prevent one next turn, play a different Supporter.

The best Item in the deck, and it is not close. One card, no cost, and two Basic Pokémon go directly onto your Bench — not into your hand, straight into play. It builds your whole board in a single card.
The deck was built around its restriction. Gastly and Toxel are 70 HP and Koffing is 60, all legal targets. Sableye at 80 HP is the one exception — Poffin cannot fetch it. Toxel's Call for Family has no HP cap and covers that gap.
Turn one, play Poffin before anything else. Gastly and Koffing on the Bench turn one means Weezing on turn two and Gengar on turn two or three. Nothing else in the deck accelerates you that much.
The classic mistake is fetching two Gastly. Fetch one Gastly and one Koffing — they are the front halves of your two different attackers, and having both means you are not hostage to one line.
Four copies, always. This is the card that makes the deck function.
Rare Candy is a time machine. Gastly goes straight to Gengar, and the Haunter step never happens. It turns a three-turn project into a one-turn play.
Two hard restrictions, both easy to forget:
The fastest legal Gengar in this deck is turn two: bench Gastly on turn one, Rare Candy on turn two. Internalize that sequence — it is the deck's best possible opening, and it exists precisely because you benched the Gastly a turn before you needed it.
Do not Rare Candy a Gastly that is Active and about to die. Putting your Gengar onto a Gastly that is one hit from a knockout hands your opponent a Prize and your Stage 2 in the same turn. Candy the Gastly on your Bench, and bring Gengar Active on a turn of your choosing.
Three copies for one Stage 2 line, backed by two Haunters and Dawn. Rare Candy is only good when you also have the Gengar in hand, so it needs to be common enough that the two line up, and no commoner.

Undo. Anything that ended up in the discard pile — a knocked-out Gengar, a Koffing you fed to Gwynn, a Basic Darkness Energy that went away with a knockout — comes back to your hand.
Because it is an Item and not a Supporter, it costs you nothing but a card slot.
Only Basic Energy. Note the exact wording: a Pokémon or a Basic Energy card. Shadowy Darkness Energy is a Special Energy and cannot be retrieved with Night Stretcher. Once one of those is discarded it is gone for good. That is a real reason to be thoughtful about where you attach them.
Energy recovery matters less than it did, and differently. The first build ran dry because knockouts drained twelve Energy with nothing refilling the board; Toxtricity now refills it from the deck every turn. What Night Stretcher does in this build is feed the deck side of that loop — a Basic Darkness pulled back from the discard is a card Sinister Surge can find again.
Four copies in this build, up from two. With only two Shadowy Darkness left, most of your Energy is now Basic and therefore recoverable, and Night Stretcher is what recovers it. It is also the reason Gwynn can discard freely. Still worth holding one back: the turn you most need it is the turn after your Gengar dies.
Free retreat. Move your Active Pokémon to the Bench and bring up whoever you like, without paying any Energy cost.
In a deck where Weezing has a retreat cost of 2, that is a meaningful amount of Energy saved.
The Confusion catch. Switching a Pokémon out clears its Special Conditions — so if you get Confused (which you cannot be by your own cards, but can be by theirs), Switch cures it. Conversely, remember that your opponent's Switch cures the Confusion you worked for with Pervasive Gas. There are only so many Switches in their deck; make them use one.
Do not Switch mid-combo. The single most expensive misplay available to you is Switching a Weezing out between Pervasive Gas and Crazy Blast. Crazy Blast checks whether this Pokémon used Pervasive Gas last turn, and a Weezing that went to the Bench and came back has still not lost that history — but a different Weezing has no history at all. Keep track of which one is which.
One copy now, because Scramble Switch is the second one and it also rescues the Energy. Between them you get two repositions a game, so save both for a stranded attacker rather than for convenience.

A Switch that carries the Energy with it. Move your Active to the Bench, bring up whoever you like, and take any amount of Energy off the retreating Pokémon and put it on the new one. It is an Item, so it costs you nothing but the card.
This is the deck's one ACE SPEC, and you may play exactly one ACE SPEC card of any kind in a deck.
This is the answer to the deck's real Energy problem. Sinister Surge attaches only to Benched Pokémon, and your hand gives one attachment a turn to the front. So the Active is always the Pokémon that is hardest to fuel, and any Energy on a Pokémon that dies goes to the discard with it. Scramble Switch fixes both halves at once: it moves stranded Energy forward, and it rescues Energy from a body that is about to be knocked out.
Time it one turn early. The instinct is to save it until something is about to die. The better habit is to use it the turn before, when you can still choose which attacker comes up. A Weezing at 30 HP is a Weezing your opponent has already decided to kill.
It is not a second Switch. There is one copy and no replacing it, so a plain retreat or the Switch should cover ordinary repositioning. Spend this one only when the Energy transfer is the point.
Read it carefully: both Active non-Darkness Pokémon. It is written as a symmetrical card, and it is completely one-sided in your favour — because every Pokémon in this deck is Darkness, yours can never be affected.
Almost everything Fox plays is Colorless, Fire, Psychic, Grass, or Water. All of it gets Confused, for free, as an Item, without using your attack.
The exception is his Team Rocket's deck, which is half Darkness. Crobat ex, Weezing, Golbat, Zubat, and Koffing all share your immunity and Dark Bell simply does nothing to them.
This is the card that unlocks the deck's best turn. Normally Weezing's combo alternates: Confuse, then hit hard, then Confuse again, then hit hard. Dark Bell breaks the alternation. You Dark Bell for the Confusion and then attack with Crazy Blast for 170 on the same turn — Confusion and maximum damage, together.
Confusion is worth more than it looks. On tails: the attack does nothing, 30 damage goes onto the Confused Pokémon, and the turn ends. So Dark Bell is a coin flip that says "your opponent might just skip this turn and take 30." And Confusion clears only when the Pokémon leaves the Active Spot — against anything at retreat 2 or 3, that is a genuine cage.
Save them. Two copies. The right moment is when their best attacker is Active and fully powered up, not on a turn-one Basic.
Spiky armour. Attach it to a Darkness Pokémon, and any opponent who attacks that Pokémon while it is Active takes 40 damage back — even if the attack knocks your Pokémon out.
It is a Pokémon Tool, so it stays attached and keeps working every turn. One Tool per Pokémon.
It only works in the Active Spot. A Punk Helmet on a Benched Pokémon is a dead card. Attach it to whoever is about to fight, or to whoever you are about to bring up.
The math is what makes it good. 40 damage is more than half of most Basics, and it stacks turn over turn. Two attacks into a helmeted Weezing is 80 free damage on whatever hit it, and 80 is usually the difference between a target being a two-shot and a one-shot.
That is the real combo. Mind Jack stops at 160 and their best attacker is usually above it. Punk Helmet is the card that closes the gap: let them chew through a helmeted Weezing, collect 40 or 80 for free, and then the target is inside range.
Two copies in this build. A single Tool turns up in about one game in eight, which is not often enough for a card whose whole job is making your opponent hesitate before attacking. At two it shows up in roughly a quarter of openings and the threat becomes real.
A Stadium stays in play for both players until someone replaces it. This one taxes every Basic Pokémon your opponent benches — 20 damage, every time — and because all of your Pokémon are Darkness, it never touches you.
It is a slow, grinding card. It does nothing dramatic on any single turn and quietly wins games.
It taxes the thing every deck has to do. Any deck built on evolution lines needs several Basics down early, and each one costs 20 HP under Risky Ruins. Over a game that is 60 to 100 free damage.
Two details make it better than it reads. The counters stay on the card when it evolves, so a 20 you charged a Basic is still there on the Stage 2 later. And because these are damage counters rather than attack damage, they go straight through Tera and every other "prevent all damage from attacks" effect on his Bench.
The Stadium war. His Team Rocket's deck runs three Team Rocket's Factory. Only one Stadium can be in play at a time, and playing a new one discards the old, which is why you run two Risky Ruins.
You will lose the last placement to three copies, and that is fine. Ruins only triggers when a Basic is benched, which is almost entirely a turn one to four event. He needs his Stadium up all game; you only need yours up early.
Two cards in one. It is a Darkness Energy — it pays for Mind Jack, Pervasive Gas, everything — and while the Pokémon holding it sits on your Bench, that Pokémon takes zero damage from attacks. Not reduced. Zero.
Because it counts as Energy, attaching it is never a wasted turn. You get protection now and firepower later.
Attach it to your Bench, not your Active. This is the whole trick and it is worth saying plainly: the protection only applies while the Pokémon is on your Bench. The moment it becomes Active, the shield is off and it is just a Darkness Energy. That is fine — it still pays for attacks — but it means you attach it early, to something in the back, and it protects that thing right up until the turn it steps forward to fight.
It stops damage from attacks only. It does not stop damage counters placed by card effects, and it does not stop Special Conditions. Against most of what Fox plays, attacks are essentially the whole threat, so it is close to absolute.
Two, down from four. Four is the legal cap, because the four-copy limit applies to Special Energy and only Basic Energy is exempt. But two of the four became Basic Darkness on purpose: Special Energy cannot be recovered, and Sinister Surge cannot find it either, so every Shadowy in the deck is one fewer card the engine can search for. Two is enough to protect the Gastly that becomes your first Gengar, which is the only job that ever really mattered.
The fuel. Every attack in this deck costs Darkness Energy, and every one of these pays for it. One attachment per turn, no exceptions.
Basic Energy is exempt from the four-copy rule — you may run as many as you want.
Ten Energy total, and the deck attaches twice a turn. Your hand attachment is no longer the speed limit. Toxtricity's Sinister Surge attaches a second Basic Darkness from the deck to your Bench every turn, free.
Eight Basics is a floor, not a target. Sinister Surge searches the deck, and Night Stretcher only returns Energy to your hand, so nothing ever refills what Surge is hunting for. Cut much below eight and the Ability starts whiffing around turn six, which is exactly when you need it most.
The practical consequence: the hand attachment goes to the front, Surge feeds the back. The Weezing that is fighting gets your attachment; the Weezing, Sableye, or Gengar waiting behind it gets the Surge. Nobody arrives in the Active Spot empty anymore.
Attach ahead of the play. Put Energy on Benched Pokémon before you need them Active. A Weezing that comes up with two Energy already attached can Crazy Blast the turn after it arrives; one that comes up empty is two turns from doing anything.
The core combo, and the reason the deck works.
Turn A:  Weezing → Pervasive Gas       30 damage + Confused
Turn B:  Weezing → Crazy Blast         50 + 120 = 170 damage
170 clears every single-prize Pokémon Fox owns, and doubles to 340 against anything Psychic. This deck's single strongest play is a two-turn sequence off one Pokémon, using no Trainer cards at all.
The rules to obey:
— two Energy. If you light the fuse with only one Energy down and then whiff your draw, you sit there for a turn and the bonus expires.Why the middle turn is safe. Between your two attacks, your opponent gets a turn — but their Active is Confused. On tails their attack does nothing, they take 30, and their turn ends. That is a coin flip on whether their turn happens at all, and it lands right where you are most exposed.
The upgraded version. Once you draw a Dark Bell, you no longer have to alternate. Dark Bell applies the Confusion as an Item, so you Crazy Blast and Confuse on the same turn. That is the deck's best turn, full stop.
How to build a Stage 2 without getting punished for it.
The universal weakness of a Stage 2 deck is the two or three turns where your best card is a defenceless Basic sitting on the Bench. This deck has a specific, complete answer to that.
The sequence:

Why it works. Shadowy Darkness Energy prevents all damage from attacks while the holder is Benched — so the Gastly cannot be sniped, and neither can the Gengar it becomes. And because Shadowy is still an Energy, the Gengar walks into the Active Spot already powered up. You spent zero tempo on defence.
The two timing rules you will forget:
Both are solved by the same habit: bench your Basics one turn earlier than you think you need them.
Gengar and Risky Ruins as a pincer.
Nearly every deck wants a wide Bench. Evolution lines need their Basics down a turn early. Draw abilities want bodies to sit on. Energy accelerators want somewhere to put the Energy.
You attack that from both sides at once:
There is no line of play that avoids both. Bench wide and Mind Jack hits for 130-160. Bench narrow and Mind Jack is weak — but they have no board, no evolutions coming, and Weezing beats them down at a flat 170 regardless.
Piloting note. This is why the deck runs two Risky Ruins. Do not lead with the first one into an empty board on turn one; wait until they have Basics worth punishing, and keep the second in hand for after they replace it.
Do the Boss's Orders math in the right order. Boss's Orders moves a Pokémon off their Bench, dropping Mind Jack by 30. Boss first, count second, then check whether the target actually dies.
How to kill the things Mind Jack cannot reach.
Mind Jack's ceiling is 160, and the target that matters is usually above it: a Pokémon ex at 200 to 310, or a Stage 2 at 170. Gengar can never one-shot those. That is not a flaw in the deck — it is the reason Punk Helmet is in it.
The plan:
The key clause: the 40 happens even if your Pokémon is Knocked Out. So a Weezing that is going to die anyway should die wearing a helmet. There is no downside — a Punk Helmet in your hand at the end of the game did nothing at all.
Check their retreat cost before you commit. Anything at retreat 2 or 3 is expensive for them to hide once it is Active and damaged. Combine with Dark Bell and a Confused, wounded attacker is stuck in front of you flipping coins.
Playing the Prize race when every card is worth one Prize.
Both decks are built entirely from non-ex Pokémon, so every knockout is worth exactly one Prize and the race is six to six. That makes this a game about efficiency: you want each of your Pokémon to take at least one Prize before it dies.
What that means in practice:
Where the race is actually decided. Your best bodies are 130 HP, and most real attackers clear 130 in one hit. So assume everything you own dies the turn it is looked at, and make sure every Pokémon you play attacks at least once before that happens. A Weezing that never got to Crazy Blast is a Prize you handed over for nothing.
That cuts both ways in your favour when he brings a deck of Pokémon ex. Every one of his knockouts costs you one Prize; every one of yours costs him two. You can afford to lose the body count and still win the race.
A decision tree for turn one, which is the turn that decides most games.
Step one: do you have a Basic Pokémon? If not, you must mulligan — reveal your hand, shuffle it back, draw seven again, and your opponent draws one extra card.
Step two: what does turn one look like?
Step three: the attachment. If you have a Shadowy Darkness Energy, it goes on the Benched Gastly — that Gastly is your Gengar, and now nothing can touch it. Otherwise attach a Basic Darkness to whichever Basic is closest to attacking.
And remember: if you go first, you cannot attack on your first turn. Use that turn entirely for setup — Poffin, Dawn, evolutions, attachments — and do not feel bad about it.

A checklist of the specific mistakes this deck invites.

For explaining this to a ten-year-old across the table.


Three lists he can put on the table, and they want completely different things from you.
Bodies: Eevee 50, Hoothoot 70, Noctowl 100, Eevee ex 200, Flareon ex 270.
Bodies: Zubat 50, Tarountula 50, Mimikyu 60, Koffing 70, Golbat 80, Articuno 120, Spidops 130, Weezing 130, Mewtwo ex 280, Crobat ex 310.
Regulation D, so it is not Standard legal and only shows up at the kitchen table. If it does: Charizard is 170 HP and Crazy Blast is exactly lethal, which is the number this deck was originally built around.