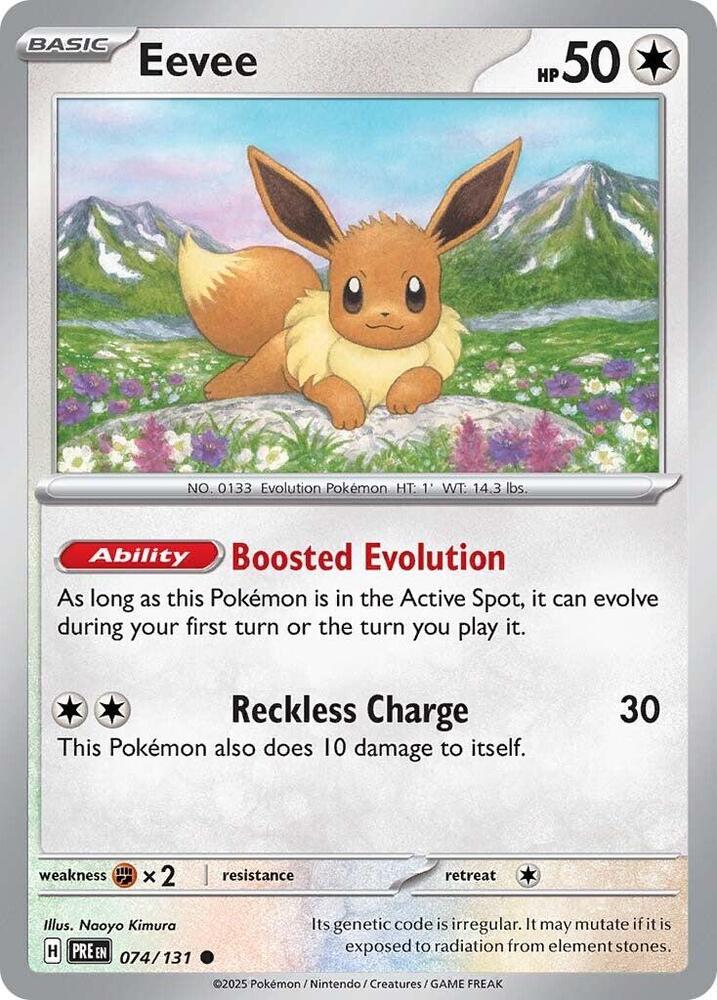
 x4
x4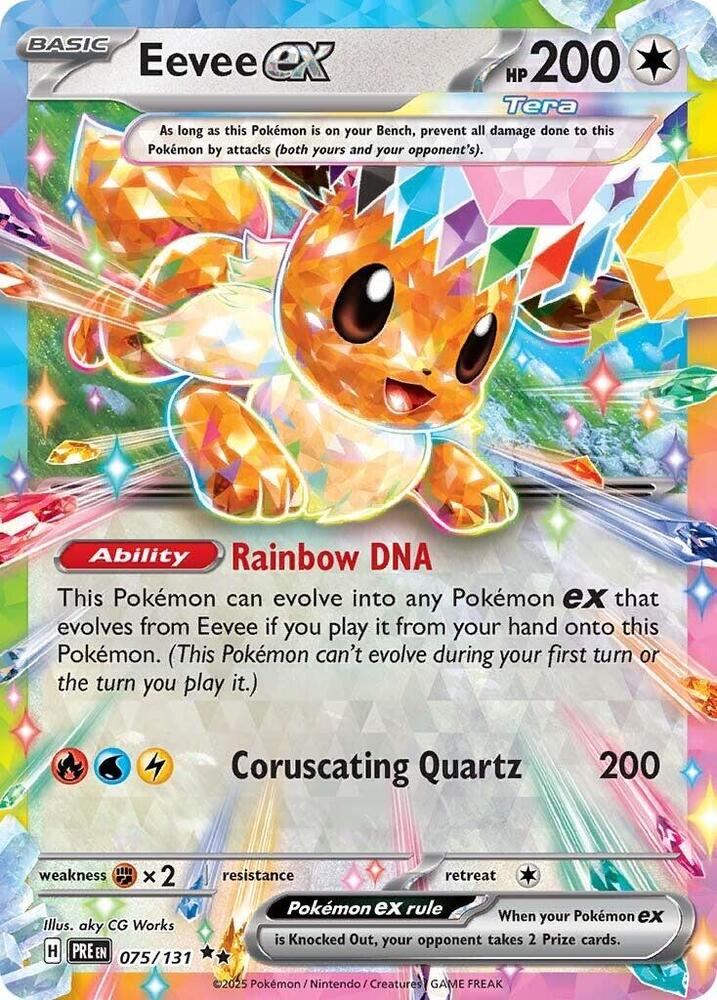 x2
x2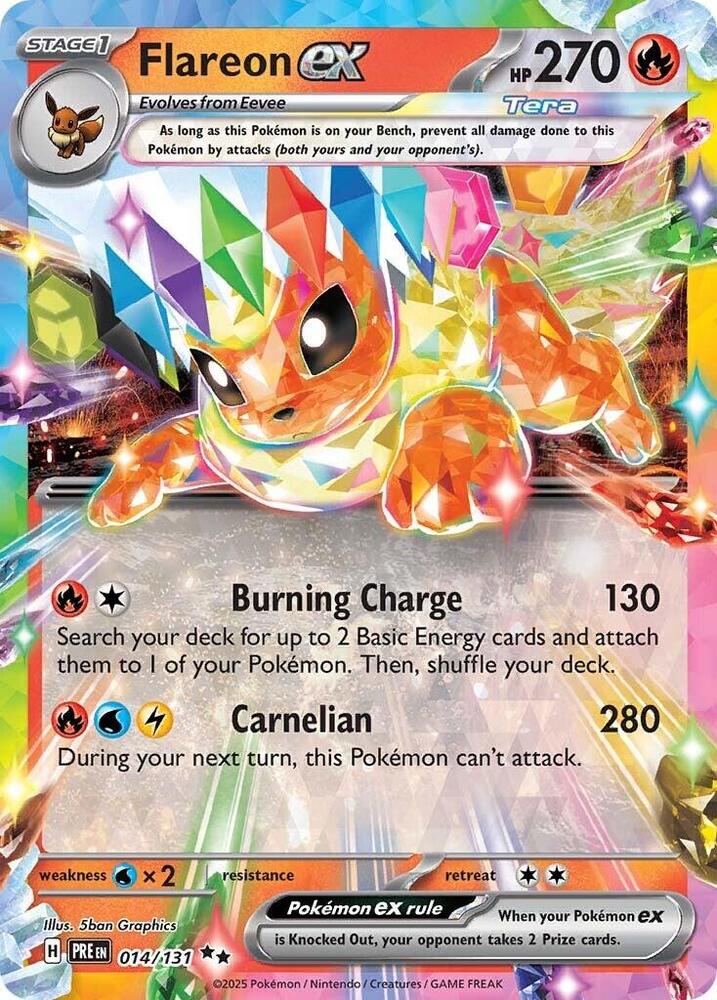 x3
x3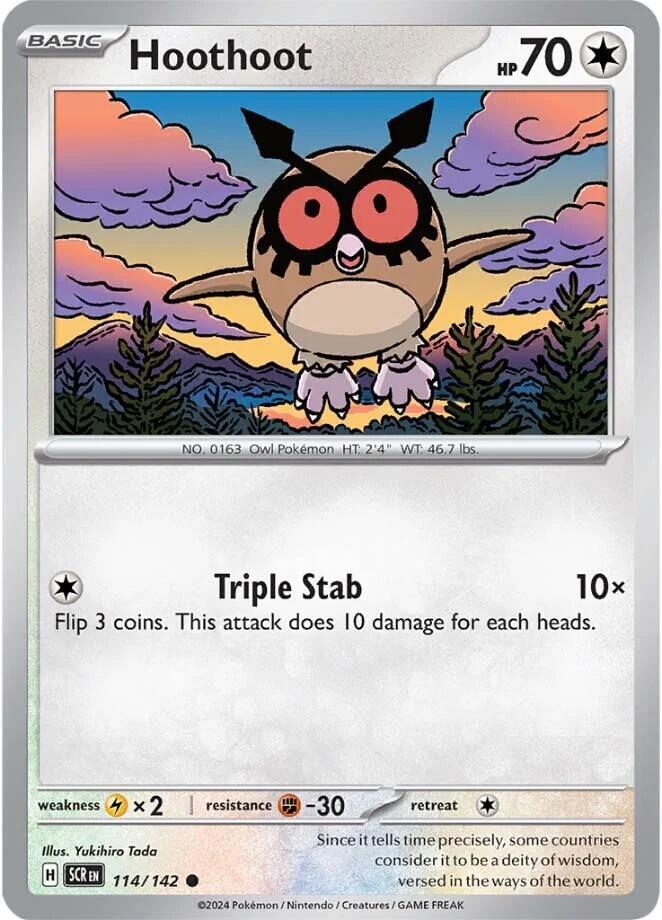 x4
x4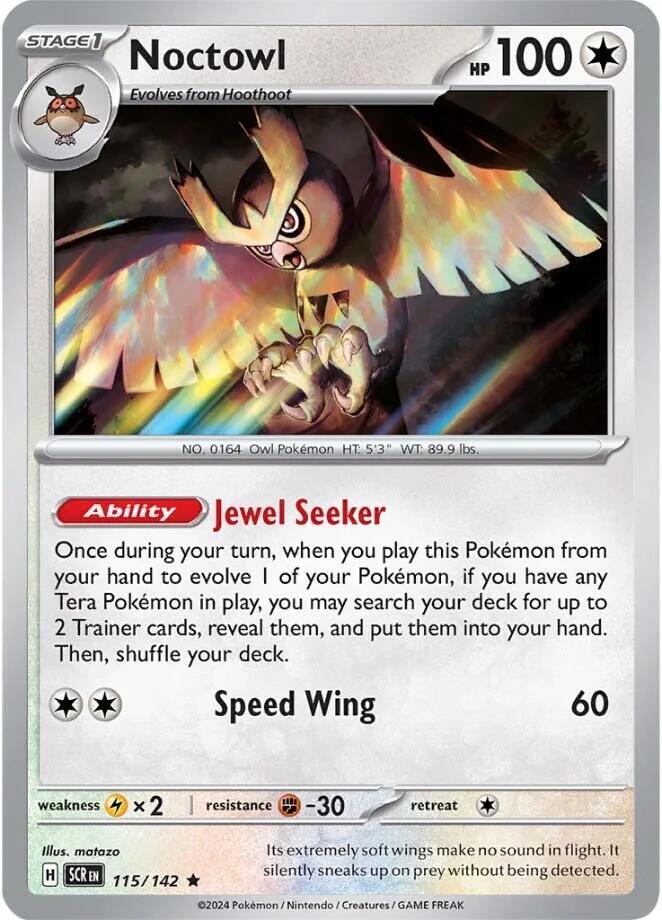 x3
x3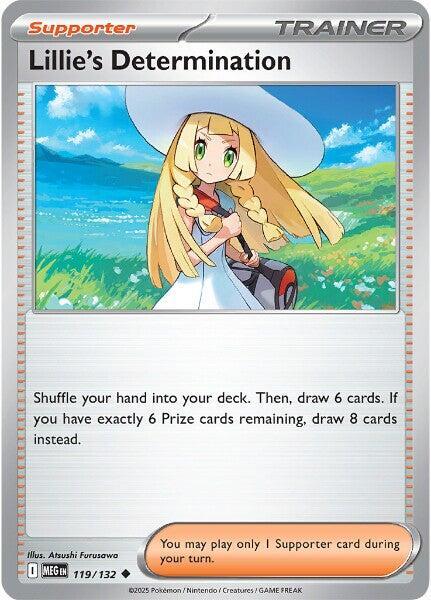 x4
x4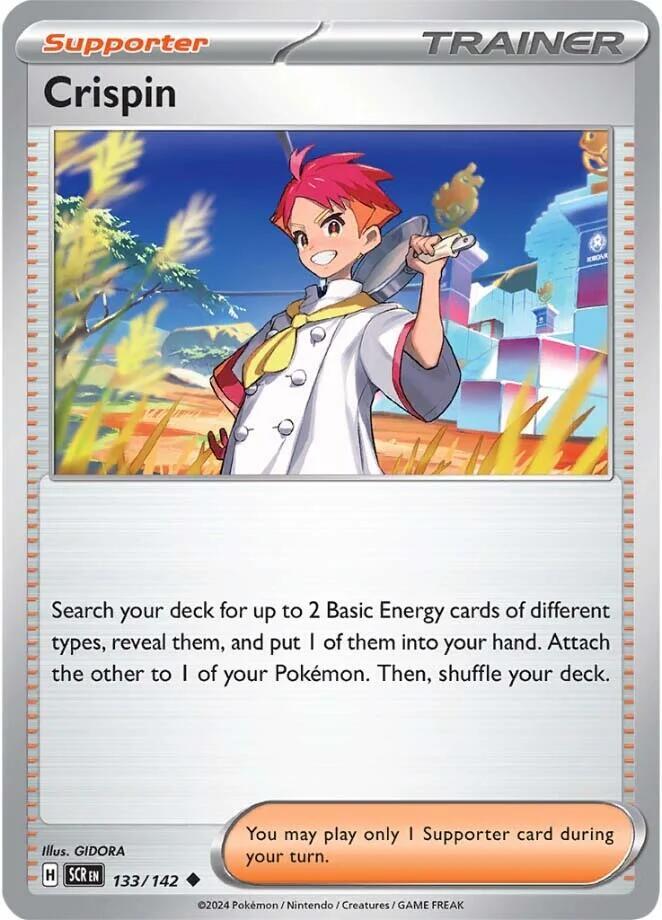 x4
x4![Boss's Orders [Ghetsis]](./assets/654453_bosss-orders-ghetsis.jpg) x3
x3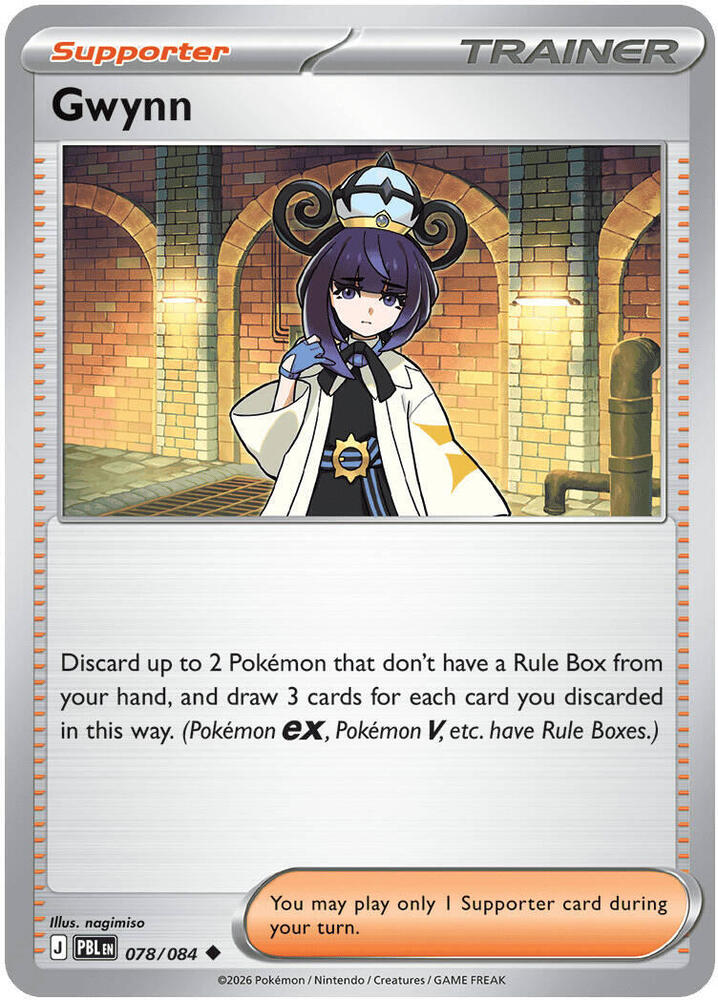 x2
x2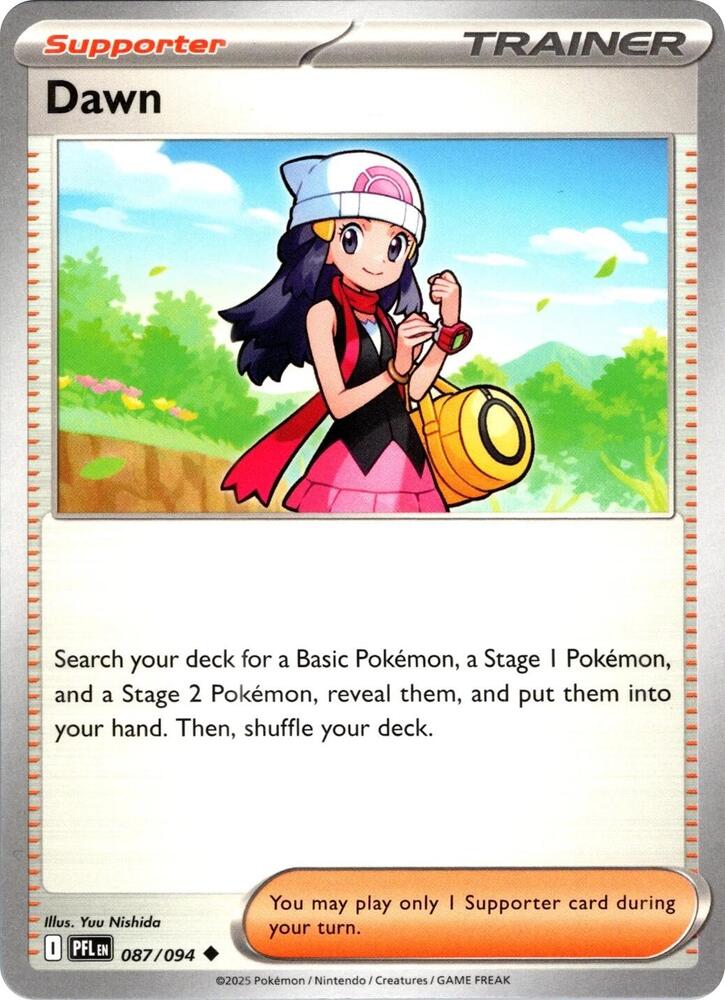 x2
x2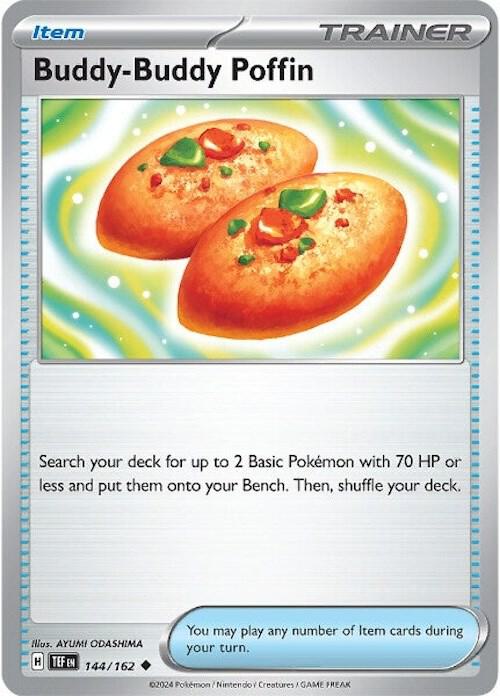 x4
x4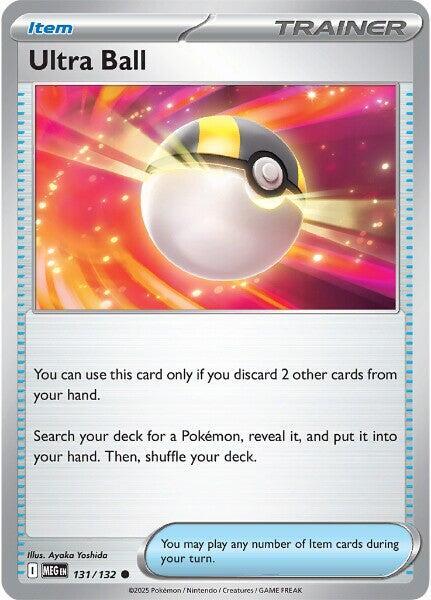 x4
x4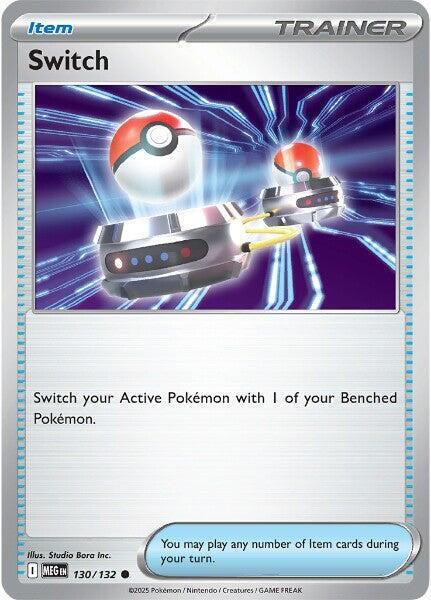 x3
x3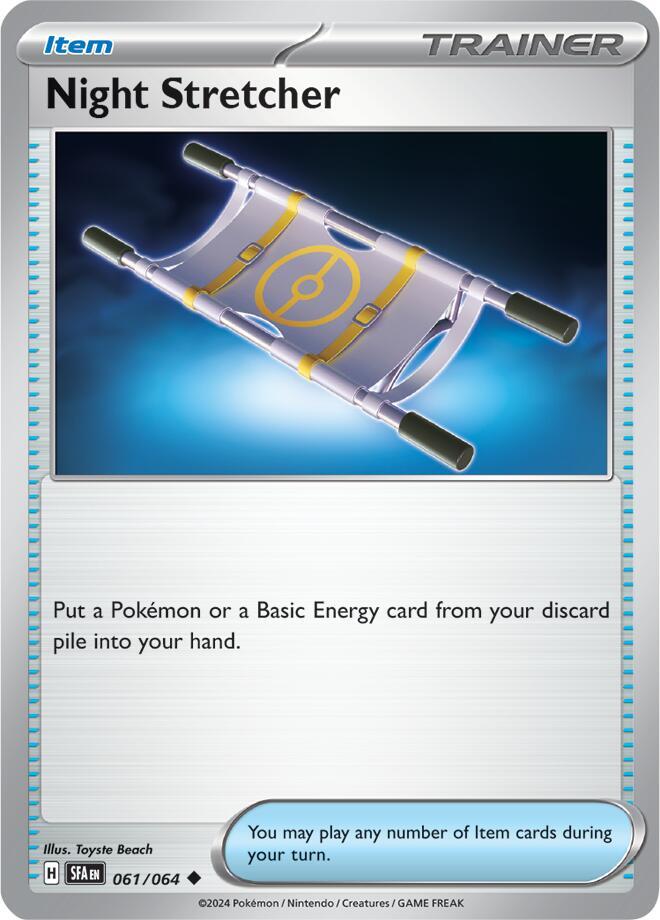 x3
x3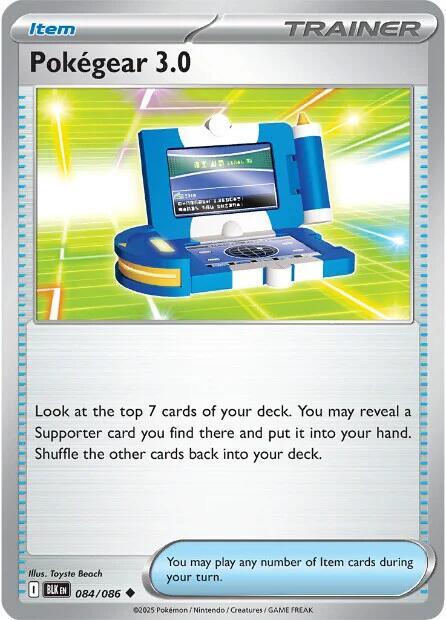
 x10
x10 x3
x3 Fox's Flareon Engine
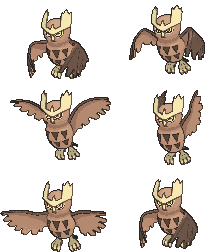
Flareon ex is not an attacker that happens to find Energy. It is an Energy engine that happens to hit for 130.
Read what that doesn't say. It doesn't say Fire Energy. It says Basic Energy — any type, any two, attached to anyone you like. Every attack is also a double Energy attachment.
Three things follow, and they shape the whole deck:
The second pillar is Tera, on every eeveelution ex:
A benched Flareon ex is untouchable, which is game plan 4. And Tera switches on the third piece: Noctowl's Jewel Seeker, two searched Trainers every time one evolves, which is game plan 3.
x4x2x3x4x3x4x4x3x2x2x4x4x3x3x10x3Pokémon (16)
| Qty | Card | Set | Number | Reg |
|---|---|---|---|---|
| 4 | Eevee | Prismatic Evolutions | 074 | H |
| 2 | Eevee ex | Prismatic Evolutions | 075 | H |
| 3 | Flareon ex | Prismatic Evolutions | 014 | H |
| 4 | Hoothoot | Stellar Crown | 114 | H |
| 3 | Noctowl | Stellar Crown | 115 | H |
Trainers — Supporters (15)
| Qty | Card | Set | Number | Reg |
|---|---|---|---|---|
| 4 | Lillie's Determination | Mega Evolution | 119 | I |
| 4 | Crispin | Stellar Crown | 133 | H |
| 3 | Boss's Orders [Ghetsis] | Mega Evolution | 114 | I |
| 2 | Gwynn | Pitch Black | 078 | J |
| 2 | Dawn | Phantasmal Flames | 087 | I |
Trainers — Items (15)
| Qty | Card | Set | Number | Reg |
|---|---|---|---|---|
| 4 | Buddy-Buddy Poffin | Temporal Forces | 144 | H |
| 4 | Ultra Ball | Mega Evolution | 131 | I |
| 3 | Switch | Mega Evolution | 130 | I |
| 3 | Night Stretcher | Shrouded Fable | 061 | H |
| 1 | Pokegear 3.0 | Black Bolt | 084 | I |
Trainers — Tool & Stadium (1)
| Qty | Card | Set | Number | Reg |
|---|---|---|---|---|
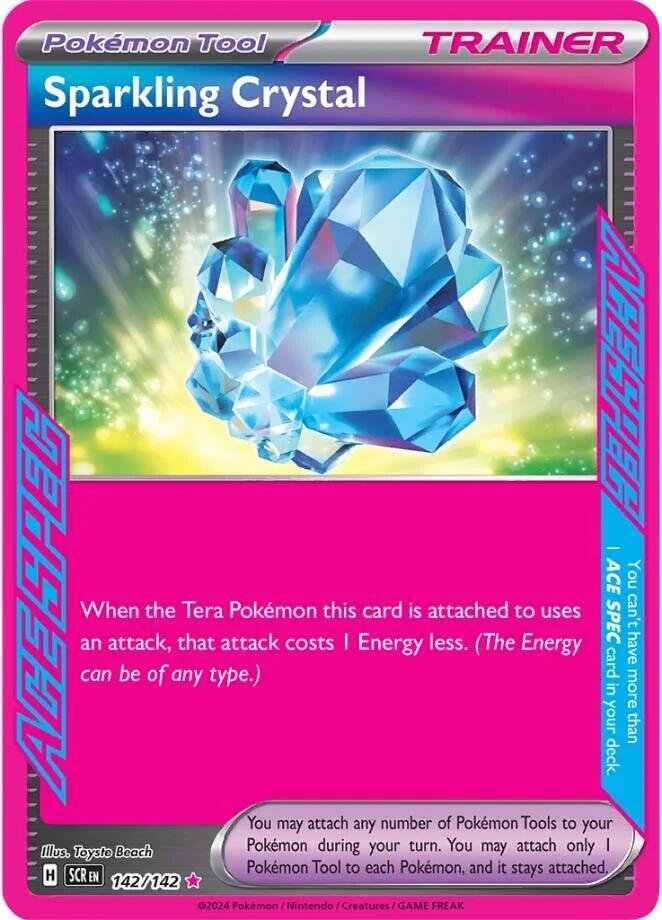
| 1 | Sparkling Crystal | Stellar Crown | 142 | H |
Energy (13)
| Qty | Card | Set | Number | Reg |
|---|---|---|---|---|
| 10 | Basic Fire Energy | Mega Evolution Energies | 002 | — |
| 3 | Basic Water Energy | any | — | — |
16 + 15 + 15 + 1 + 13 = 60. ✓


 Colorless
 Fighting ×21 30 — this Pokémon also does 10 damage to itself.
eevee → flareon ex
Eevee is the fast start, and Boosted Evolution is the whole reason.
Normally you play a Basic, wait a turn, then evolve it. Eevee doesn't wait. Play it into the Active Spot and you can put Flareon ex on top of it the same turn — even on turn one.
That's a 270 HP attacker on the board before your dad has done anything.
The trap is the Bench. Boosted Evolution says Active Spot, and it means it. An Eevee sitting on your Bench is a normal Eevee: you have to wait a full turn to evolve it.
So the Eevee you're going to evolve right now has to come from your hand, into the Active Spot. Buddy-Buddy Poffin puts Pokémon on the Bench, so Poffin is for your spare Eevee and your Hoothoot, not for the one you want to grow immediately.
50 HP is nothing. Almost anything your dad plays knocks out an Eevee. That's fine — you're not planning to leave it there. You play it, you evolve it, and by the time he gets a turn it's a Flareon ex.
Don't attack with it. Reckless Charge does 30 and hurts itself for 10. On a 50 HP Pokémon that's a third of its life for almost no damage. If you're attacking with Eevee, something went wrong three turns ago.
 ColorlessFighting ×21

 200
200eevee ex → flareon ex
Eevee ex is the tough version of Eevee. 200 HP instead of 50.
It does not have Boosted Evolution, so it can't evolve the turn you play it. What it gives you instead is a body your dad genuinely struggles to remove. His best attack does 170.
It also has Tera, the same Ability as Flareon ex. On your Bench, attacks do zero damage to it. So an Eevee ex you're saving for later cannot be picked off while it waits.
Use plain Eevee when you want speed. Use Eevee ex when you have a turn to spare and you'd rather not lose anything.
It is worth 2 Prize cards. A 200 HP Pokémon feels safe, and then your dad chips it down over three turns and takes a third of the game for it. Big is not the same as safe when the prize is doubled.
Buddy-Buddy Poffin cannot find it. Poffin only fetches Basics with 70 HP or less. Eevee ex has 200. Ultra Ball is your search card for this one.
 FireWater ×22 130 — search your deck for up to 2 Basic Energy cards and attach them to 1 of your Pokémon. 280 — during your next turn, this Pokémon can't attack.
eevee → flareon ex
This is the whole deck. Everything else exists to get a Flareon ex out and keep it attacking.
Burning Charge is the card. It does 130 damage — and then it goes and finds two more Energy out of your deck and attaches them anywhere you like. You attack and you build up at the same time, every single turn.
130 is an exact number against your dad. His Gengar has 130 HP. His Weezing has 130 HP. Burning Charge knocks out either one in one hit, with no Leon, no set-up, and no coin flips.
Tera is the best Ability in the deck, and it only works on the Bench. While a Flareon ex is benched, attacks do zero damage to it. Not reduced. Zero.
Think about what that means against your dad. His Gengar's Mind Jack can't touch it. His Weezing's Crazy Blast can't touch it. The only Pokémon he can attack is whichever one is in your Active Spot.
So the pattern is: build on the Bench, step forward, hit, step back. Attack with one Flareon ex, and when it gets low, Switch it to the Bench and bring up a fresh one. The hurt one is now completely safe.
Free Energy every turn adds up fast. Burning Charge attaches 2 Energy on top of the 1 you attach by hand. That's 3 Energy a turn while you're also doing 130 damage. Put them on the Flareon ex sitting on your Bench, so your next attacker is already loaded before it ever steps out.

 ColorlessLightning ×2Fighting −301 10× — flip 3 coins. This attack does 10 damage for each heads.
hoothoot → noctowl
Hoothoot has one job: be a Hoothoot so it can become a Noctowl. That's it. It never attacks and it never wins you a game by itself.
You have 4 because Noctowl's Ability is the best draw engine in the deck, and you can't have a Noctowl without a Hoothoot underneath it first.
Bench them early and bench more than one. Every Hoothoot on your Bench is a Noctowl you can evolve later, and each evolution is two free Trainer cards. Holding Hoothoot back in your hand is holding back your own draw engine.
70 HP is the magic number for Buddy-Buddy Poffin. Poffin fetches Basics with 70 HP or less, and Hoothoot is exactly 70. So one Poffin can grab an Eevee and a Hoothoot in one go, for free, without using your Supporter.
Don't attack with it. Triple Stab flips 3 coins for 10 each. On average that's 15 damage. Your dad's smallest Pokémon has 60 HP.
ColorlessLightning ×2Fighting −301 60hoothoot → noctowl
Noctowl is your draw engine, and it doesn't work like a normal one.
Most draw cards give you random cards. Jewel Seeker lets you pick the exact two Trainers you want out of your whole deck. Need a Boss's Orders to finish the game? Go get it. Need a Switch to escape? Go get it.
The catch is in the wording: it only fires the moment you evolve a Hoothoot into it, and only if you have a Tera Pokémon in play. Both Flareon ex and Eevee ex are Tera, so that part is almost always true.
You have 3 Noctowl, so you get 3 uses. Don't waste them. The most common mistake is evolving every Hoothoot the moment you draw a Noctowl. That burns all three uses early, when you don't need anything specific.
Save one. Keep a Hoothoot on the Bench and a Noctowl in your hand, and evolve it on the turn you actually need a card. That's not a draw engine any more — that's a card that says "go get any two Trainers in my deck."
Check the Tera condition first. You need a Flareon ex or an Eevee ex somewhere in play. If both are gone, Jewel Seeker does nothing. Evolve the Hoothoot anyway if you need the HP, just don't count on the cards.
100 HP is real. Noctowl can hold the Active Spot for a turn while you set up behind it. Speed Wing does 60, which knocks out his Koffing exactly.

This is your reset button. Bad hand? Shuffle the whole thing away and draw a fresh 6.
The important part is that it shuffles, it doesn't discard. Nothing is lost. If you shuffle away a Flareon ex, it goes back into your deck where Ultra Ball can find it again.
Play it on turn one whenever you can. If you still have all 6 Prize cards, Lillie's draws 8 instead of 6. That bonus only exists before anyone has knocked anything out, so it's a first-turn card. Two extra cards for free is a lot.
Empty your hand before you play it. Every card you were holding gets shuffled away. So play your Items first, attach your Energy first, evolve first — then Lillie's, then attack. Follow The Turn Checklist and this happens automatically.
Crispin gets your engine started. It finds Energy in your deck and puts one of them straight onto a Pokémon — that attachment doesn't use up your one-per-turn attachment.
So on a Crispin turn you can attach two Energy: one by hand, one from Crispin.
"Different types" is a rule, not a suggestion. You can't grab two Fire. You must take one Fire and one of something else, and the only something else you own is Water. So the real result of Crispin is: one Fire Energy, plus one Water Energy.
Usually: attach the Fire, keep the Water. Early on you're playing Crispin to get Burning Charge online, and that wants Fire.
But hold on to that Water. If you have Sparkling Crystal on a Flareon ex, one Fire plus one Water is exactly what Carnelian costs. Crispin can hand you both halves of a 280-damage attack in a single card.
It's a turn-one and turn-two card. Once a Flareon ex is attacking, Burning Charge finds 2 Energy every single turn for free, and Crispin becomes the weakest Supporter in your deck. Play it early, then stop.
Boss's Orders reaches past whatever your dad is hiding behind and drags out the Pokémon you actually want to knock out.
This is how you finish games. He hides a hurt Gengar on the Bench; you drag it out and hit it for 130.
Save them for Prize cards, not for fun. You only have 3. Each one should be the difference between taking a Prize and not taking one.
Count first. Before you play it, work out whether 130 actually knocks out the thing you're dragging. Against your dad it always does, so this is an easy one for you.
He has Boss's Orders too — and it's his answer to Tera. See Beating Dad's Gengar Gang. A Flareon ex on your Bench is untouchable until he plays this card and drags it out.

Gwynn turns spare Pokémon into cards. Discard two, draw six.
The words "don't have a Rule Box" are doing all the work here. That means Gwynn can discard your Eevee, Hoothoot, and Noctowl. It cannot discard Flareon ex or Eevee ex.
Six cards for two you weren't using is a great deal. Late in the game you'll be holding a spare Hoothoot and a spare Eevee that will never be played. That's a 6-card Gwynn.
Check the Rule Box before you plan around it. If your hand is a Flareon ex and an Eevee ex, Gwynn draws you nothing. It is a dead card in that hand. Play Lillie's Determination instead.
Discard up to 2. You can discard just one and draw 3, if that's all you can spare.

Dawn reaches into your deck and pulls out a whole evolution line at once. In this deck that means an Eevee and the Flareon ex it grows into, both into your hand, off one card.
Your deck has no Stage 2 Pokémon in it at all. That's fine. You are allowed to find fewer cards than a card asks for, so you take the two that exist and shuffle.
This is a setup card, so it is at its best on turn one or two. Buddy-Buddy Poffin fills your Bench with Basics. Dawn does the other half: it hands you the Eevee and the thing it evolves into, so your next turn is already decided.
You only get one Supporter a turn, and you only have 2 Dawn. Playing Dawn means not playing Lillie's Determination. Early, when you know exactly which card you're missing, Dawn wins. Later, when you just need more cards, Lillie's wins.
Dead late. Once your board is built, Dawn finds you two Pokémon you already have in play. If it's still in your hand at that point it's Gwynn fuel, not a play.

Two Pokémon out of your deck, onto your Bench, for free, without using your Supporter for the turn. This is the best Item in the deck.
The usual grab is one Eevee and one Hoothoot. Both are 70 HP or less. Both are things you want on the Bench.
It cannot find Eevee ex. 200 HP is way over the limit. Use Ultra Ball for that.
It's free, so play it early. There is almost never a reason to hold a Poffin. Bench bodies are what this deck runs on.
Ultra Ball finds any Pokémon in your deck. Not "a Basic," not "70 HP or less." Any of them. Flareon ex, Eevee ex, Noctowl, whatever you need.
The price is discarding 2 cards from your hand first.
Pay with cards you can get back. A spare Hoothoot is the best discard in the deck — you have 4, you need maybe 2, and Night Stretcher can fetch one back anyway. A spare Basic Energy is fine too, since Burning Charge pulls Energy from your deck, not your hand.
Never pay with your last Flareon ex. Obvious when you read it here, easy to do at the table when you're rushing.
Order matters. Ultra Ball first, Lillie's Determination second. If you do it the other way round you shuffle away the cards you were going to pay with.
Switch moves your Active Pokémon to the Bench and brings up whoever you want, for free — no Energy, no retreat cost.
In most decks Switch is a small convenience card. In this deck it's a defensive weapon, because of Tera.
Switch beats Confusion. A Special Condition goes away the moment a Pokémon leaves the Active Spot. Your dad's Dark Bell and Weezing will Confuse you constantly, and a Confused Flareon ex is a coin flip away from doing nothing all turn.
Switching out clears it instantly, and unlike retreating it costs no Energy.
Switch turns a hurt Flareon ex into a safe one. Your Flareon ex is at 40 HP and about to die. Switch it to the Bench. Now Tera means it takes zero damage from attacks. It's still hurt, but he can't finish it — not unless he has a Boss's Orders.
Three copies is not many. Don't burn one just to reposition. Save them for Confusion and for saving a Flareon ex.

Night Stretcher reaches into your discard pile and takes one thing back. A Pokémon or a Basic Energy — you choose when you play it.
It's why discarding to Ultra Ball and Gwynn doesn't really hurt.
Getting a knocked-out Flareon ex back is the big one. He spent a whole turn and two of your Prize cards removing it. Night Stretcher puts the card back in your hand for free. You still need an Eevee to evolve, but the hard part is back.
One card at a time. Not "a Pokémon and an Energy." One or the other.
Basic Energy only. Your deck only has Basic Energy, so this never actually limits you.

Pokegear looks 7 cards deep and gives you a Supporter out of them.
It's an Item, so it's free. Play it first, see which Supporter it finds, then play that Supporter in the same turn.
This is your insurance card. The turn where your hand has no Supporter in it is the turn you lose the game. There are 13 Supporters in your deck, so 7 cards off the top will usually contain one.
Usually, not always. If it whiffs, you've lost nothing but the card. Play it early in the turn so a miss still leaves you time to do something else.
One copy on purpose. It doesn't do anything by itself. Two Pokegear in one hand is one wasted card.
Attach it to a Flareon ex and Burning Charge costs one Fire Energy instead of two.
That doesn't sound huge until you count turns. Without it you need two Energy before you can attack. With it you need one, which means you can attack a full turn earlier.
It goes on any Tera Pokémon, and you have two kinds: Flareon ex and Eevee ex.
Attach it to a Flareon ex on the Bench. Tera means a benched Flareon ex can't be attacked, so the Tool can't be knocked off with it. Attach it to your next attacker, not your current one.
It only works on Tera Pokémon. You cannot put it on Noctowl, Hoothoot, or plain Eevee. Flareon ex and Eevee ex are your only two targets.
The Energy that actually runs your deck. Burning Charge costs — one Fire, plus one of anything. Both of those can be Fire.
Ten Energy in 60 cards sounds low. It isn't. Most decks need to draw their Energy. You go and fetch yours: Burning Charge finds 2 every turn, Crispin finds 2 more, and Night Stretcher recycles them. You will almost never be stuck without Energy after turn two.
Attach to a benched Flareon ex whenever you can. Tera protects it while it loads up. By the time it steps into the Active Spot it's already ready to attack.
Water does two jobs in this deck, and neither one is obvious.
Job 1: it makes Crispin work. Crispin makes you take two Basic Energy of different types. With only Fire in the deck, Crispin would only ever find one card.
Job 2: it pays for the big attacks, but only with Sparkling Crystal. Carnelian and Coruscating Quartz both cost [L], and you own no Lightning. Sparkling Crystal takes off 1 Energy of any type. Take off the Lightning and both attacks cost — one Fire, one Water.
Only 3 of them, so don't waste one. Attaching a Water to a Pokémon that will never use Carnelian is a wasted attachment. Fire is almost always the right attach.
Let Burning Charge find the Water instead. It searches your deck for any 2 Basic Energy and attaches them wherever you like. So the real line is: attack with Burning Charge, use it to place a Water on the Flareon ex wearing Sparkling Crystal, and now Carnelian is armed for next turn.
This is your deck's main plan. If you only learn one thing, learn this.
Flareon ex's Burning Charge does two things at once:
Burning Charge  [R][C]
  1. 130 damage.
  2. Search your deck for 2 Basic Energy.
     Attach them to ANY 1 of your Pokemon.
Most attacks just do damage. This one pays for your next attack while it's doing it.
Count the Energy you gain in a turn:
You spend two Energy to attack. You gain three. You get further ahead every single turn.
130 is the number that matters against your dad. His Gengar has 130 HP. His Weezing has 130 HP. Everything else he owns has less. Burning Charge one-shots his entire deck, from turn two, forever.
Compare that to your Fire Force deck, where you had to build up Leons in the discard pile just to reach 150. Here you start at the number you need.
The best possible start, and the one rule that ruins it.
Eevee's Boosted Evolution lets it evolve the turn you play it. That breaks the normal rule, and it's how you get a 270 HP attacker down before your dad has done anything.
1. Play EEVEE into the ACTIVE SPOT.  (from your hand!)
2. Evolve it into FLAREON EX.        (same turn - Boosted Evolution)
3. Buddy-Buddy Poffin -> Eevee + Hoothoot onto the Bench.
4. Attach a Fire Energy.
5. Lillie's Determination -> draw 8. (you still have all 6 Prizes)
Next turn you attach one more Fire and Burning Charge for 130.
If you have Sparkling Crystal, attach it. Burning Charge then costs one Fire instead of two, and you can attack on turn two with a single Energy attachment.
Noctowl doesn't draw you cards. It hands you the exact cards you name.
Jewel Seeker fires when you evolve a Hoothoot into a Noctowl, as long as a Tera Pokémon is in play. Flareon ex and Eevee ex are both Tera, and one of them is nearly always on your board.
You get 2 Trainer cards of your choice out of your deck.
You have 3 Noctowl. That's 3 uses in the whole game. The mistake is spending them all in the first two turns because you happen to have the cards in hand.
Instead, keep a Hoothoot benched and a Noctowl in hand. Now you're holding a card that says "at any time, take any two Trainers from my deck." That's not a draw engine, that's a toolbox.
Best things to go and get:
This is the exact opposite of your old deck's biggest problem.
In your Fire Force deck, Charmanders sat on the Bench getting picked off for three turns while you tried to build a Charizard. Every one of them was a free Prize card for dad.
Now look at Tera:
Zero damage. Not less. Zero. A benched Flareon ex cannot be hurt by Mind Jack, by Crazy Blast, by anything he attacks with. Eevee ex has the same Ability, so a 200 HP Eevee ex waiting on your Bench is untouchable too.
So the whole shape of your game changes:
Two Switch plus three Night Stretcher makes that a real rotation, not a dream.
Read this one twice. It's the biggest difference between this deck and your old one.
In your Fire Force deck, every Pokémon on both sides was worth 1 Prize card. Perfectly fair trades. Knock one out, take one Prize, six knockouts each way.
That is not how this deck works.
Every Pokémon in his Gengar Gang is still worth 1.
He needs 3 knockouts to win.   (3 x 2 Prizes = 6)
You need 6 knockouts to win.   (6 x 1 Prize  = 6)
He needs half as many good turns as you do. That's the trade you made for a 270 HP attacker that one-shots everything he owns.
Knock something out every single turn. 130 damage kills anything in his deck. If you're attacking every turn from turn two, you take 6 Prizes in 6 turns. He can't remove three Flareon ex that fast — his best attack does 170 and yours has 270 HP.
Never let him have a free knockout. Every Flareon ex that dies is two turns of your work handed back. Switch it out before it dies. That's what Switch is for in this deck.
Don't leave a hurt Flareon ex in the Active Spot hoping. If it's below 170, his Weezing can finish it. Below 160, his Gengar can. Move it.
Your small Pokémon are worth 1 Prize, and that's useful. If something has to die, better it's a Hoothoot than a Flareon ex. Letting him knock out a Noctowl costs you one Prize and buys you a turn.

Turn one decides a lot of games. Here's how to play it.
If not, you mulligan — show your hand, shuffle it back, draw 7 more. Your dad draws 1 extra card. It's just a do-over.
Your Basics are Eevee, Eevee ex, and Hoothoot — 10 of them in 60 cards. You'll mulligan a bit less often than with your old deck.
Fire, onto whatever is attacking soonest. Usually the Active Flareon ex.

Know the other side and you'll see plays coming.
His deck is all Darkness Pokémon. Nothing in it is Water, so your Flareon ex's Water Weakness never comes up. Nothing in it is Fighting, so your Eevee ex's Fighting Weakness never comes up either.
That's a really good start.
130 knocks out everything he owns.
| His Pokémon | HP | Burning Charge does |
|---|---|---|
| Koffing | 60 | KO |
| Gastly | 70 | KO |
| Haunter | 100 | KO |
| Weezing | 130 | KO, exactly |
| Gengar | 130 | KO, exactly |
No set-up. No coin flips. No Leons in the discard pile. You attack, something dies.

It's a two-turn combo:
170 does not knock out a Flareon ex. 270 HP minus 170 is 100 left. In your old deck, 170 was exactly your Charizard's HP and Weezing was terrifying. Now it isn't.
The Confusion is the real threat, not the damage. A Confused Flareon ex has to flip a coin to attack. Tails means no damage, 30 to itself, and your turn is over. That's a turn where you took zero Prizes and he got a free one.
How to fight it: Switch. Leaving the Active Spot clears Confusion instantly and costs no Energy. If you're Confused and you don't have a Switch, Noctowl can go and get one.

Mind Jack costs one Energy and does 10 damage, plus 30 for every Pokémon on YOUR Bench.
| Your Bench | Mind Jack does | Does it KO your Active Flareon ex? |
|---|---|---|
| 2 | 70 | No |
| 3 | 100 | No |
| 4 | 130 | No |
| 5 | 160 | No — 270 HP |
Read that last column again. Even with a full Bench, Gengar cannot knock out a Flareon ex in one hit. In your old deck a big Bench was dangerous. Here it mostly isn't.
But it kills everything else you own. 130 knocks out a Noctowl. 70 knocks out a Hoothoot. So the rule is simple: keep a Flareon ex in the Active Spot. Never leave a Hoothoot or a Noctowl out front when a Gengar is ready.
Infinite Shadow: when his Gengar is knocked out, the card goes back to his hand instead of the discard pile. You still take your Prize card. Never hesitate to knock out a Gengar.

This is the most important thing in this whole section.
A Flareon ex or Eevee ex on your Bench cannot be attacked. He knows that. So his plan is Boss's Orders — it drags one of your Benched Pokémon into the Active Spot, where Tera stops working.
And both of those are worth 2 Prize cards. Boss's Orders is how he turns your safest Pokémon into his best target.
So a hurt Flareon ex on your Bench is safe, but it is not safe forever.

| Card | What it does | What you do |
|---|---|---|
| Dark Bell | Confuses your Active Pokémon, for free, as an Item | Keep a Switch around. He can play several in a turn. |
| Risky Ruins | 20 damage to each Basic you bench | You have no Stadium to replace it, so just accept it. It hits Eevee and Hoothoot, never Flareon ex. |
| Punk Helmet | You take 40 damage for attacking the Pokémon wearing it | Flareon ex has 270 HP. Take the 40 and keep attacking. |
| Infinite Shadow | His knocked-out Gengar goes back to his hand | You still get the Prize card. Knock it out anyway. |
| Boss's Orders | Drags your benched Pokémon into the Active Spot | The one card that beats Tera. Plan for it. |
| Haunter — Haunt | Places 3 damage counters (30) on your Active | Small. Ignore it and keep attacking. |

The specific traps in this deck. Read this one twice.
Playing Eevee to the Bench and expecting to evolve it. Boosted Evolution only works in the Active Spot. This is the number one mistake with this deck.
Using Buddy-Buddy Poffin to find the Eevee you want to evolve now. Poffin puts them on the Bench. Same mistake, one step earlier.
Trying to use Carnelian or Coruscating Quartz without Sparkling Crystal. Both cost Lightning and your deck has none. With the Crystal attached, drop the Lightning and both cost ; without it, they are not options.
Leaving a hurt Flareon ex in the Active Spot. Below 170 HP a Weezing finishes it. That's 2 Prize cards you handed over for free. Switch it out.
Leaving a Hoothoot or Noctowl Active when his Gengar is ready. Mind Jack eats them. Keep a Flareon ex out front.
Evolving all three Noctowl at once. You only get 3 Jewel Seeker uses in the whole game. Save one for when you actually need a specific card.
Forgetting Jewel Seeker is free. Evolve before you play your Supporter, so you know what you still need.
Playing Lillie's Determination with a good hand. It shuffles everything away. Play your Items first.
Playing Lillie's before your Ultra Balls. You just shuffled away the cards you were going to pay the Ball with.
Playing Gwynn holding only ex cards. Gwynn can only discard Pokémon without a Rule Box. Flareon ex and Eevee ex both have one, so that Gwynn draws you zero cards.
Attaching Sparkling Crystal to a Noctowl. It only goes on a Tera Pokémon. Flareon ex and Eevee ex are your only two.
Playing two Supporters in one turn. Not allowed. One per turn.
Attacking, then trying to do other stuff. Attacking ends your turn. Do everything else first.
Stick to this order and you'll stop forgetting things.
1. DRAW your card.
2. ITEMS       - Poffin, Ultra Ball, Switch, Night Stretcher.
3. ENERGY      - attach 1 from your hand.
4. EVOLVE      - Eevee -> Flareon ex, Hoothoot -> Noctowl.
                 JEWEL SEEKER fires here. Take your 2 Trainers.
5. TOOL        - attach Sparkling Crystal if you have it.
6. SUPPORTER   - only ONE. Lillie's? Crispin? Boss's Orders?
7. ATTACK      - Burning Charge. This ENDS your turn.
Why this order? Because every step tells you something about the next one. Evolving a Noctowl at step 4 might hand you the Boss's Orders you play at step 6. If you play the Supporter first, you'll pick the wrong one.
Step 4 is where this deck is different from your old one. In Fire Force, Battle Sense was the free thing you always forgot. Here it's Jewel Seeker. Same habit, different card: do the free thing before the thing you only get once.
The single most common mistake in this whole game is attacking too early in your turn. Attack last. Always.
Every deck gives something up. Know yours before your opponent finds them.
Three knockouts and it's over. Flareon ex and Eevee ex give up 2 Prize cards each, and they are the only Pokémon that win you games. The Prize Race Changed is the manual; the summary is that you cannot afford a single free knockout.
Water Weakness ×2. Nothing in dad's Gengar Gang is Water, so you will never feel this at home. A tournament room is different. One Water deck across the table and your 270 HP attacker takes double, which means medium attacks knock it out in one hit. When you see Water Energy on their side, keep the rotation tight and never leave a hurt Flareon ex in front.
Eevee ex is Weak to Fighting ×2. A Fighting deck removes it almost on contact, which is exactly why the Fighting build on dad's shortlist hard-counters this one. Against Fighting, plain Eevee is the safer start even though it is slower.
Damage counters go through Tera. Tera stops damage from attacks. Effects that place counters skip it entirely: dad's Risky Ruins taxes your Basics as they arrive, and his lantern deck's Dusknoir and Froslass put counters straight onto your "untouchable" Bench. Against those decks the fortress has no walls, so win fast instead of slow.