 x4
x4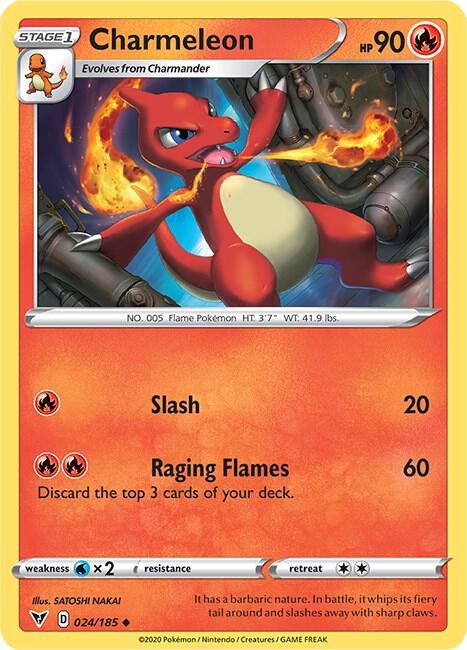 x2
x2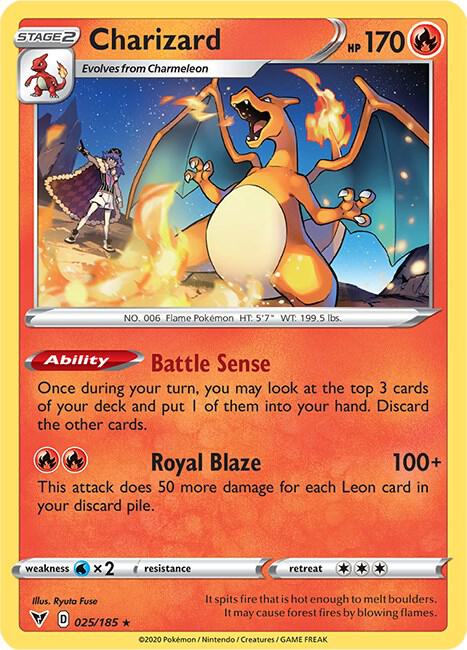 x3
x3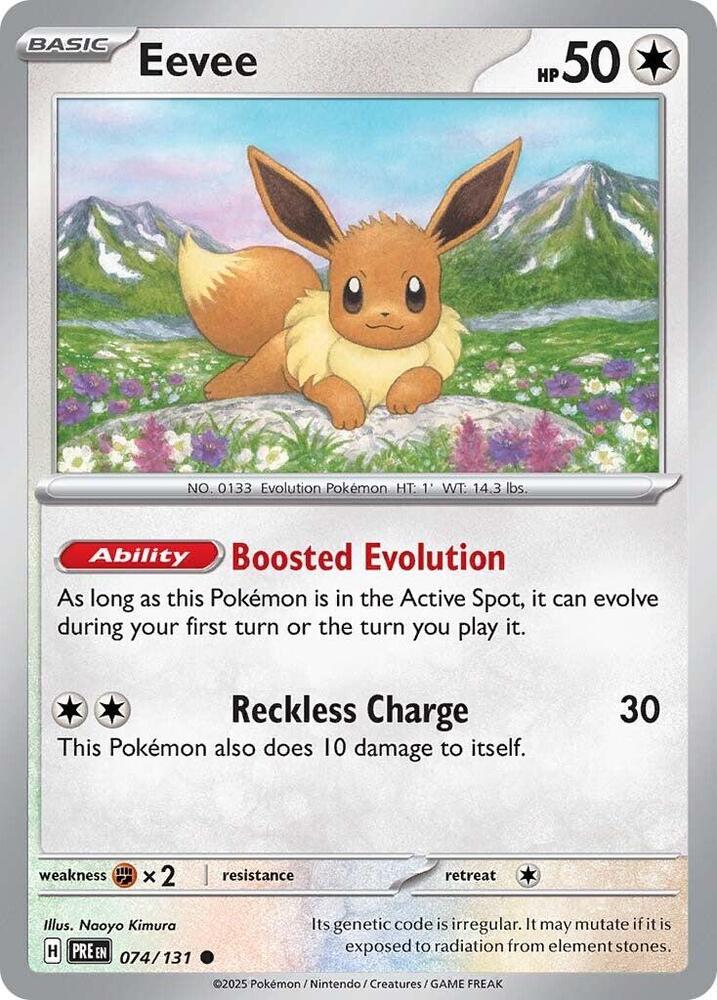 x3
x3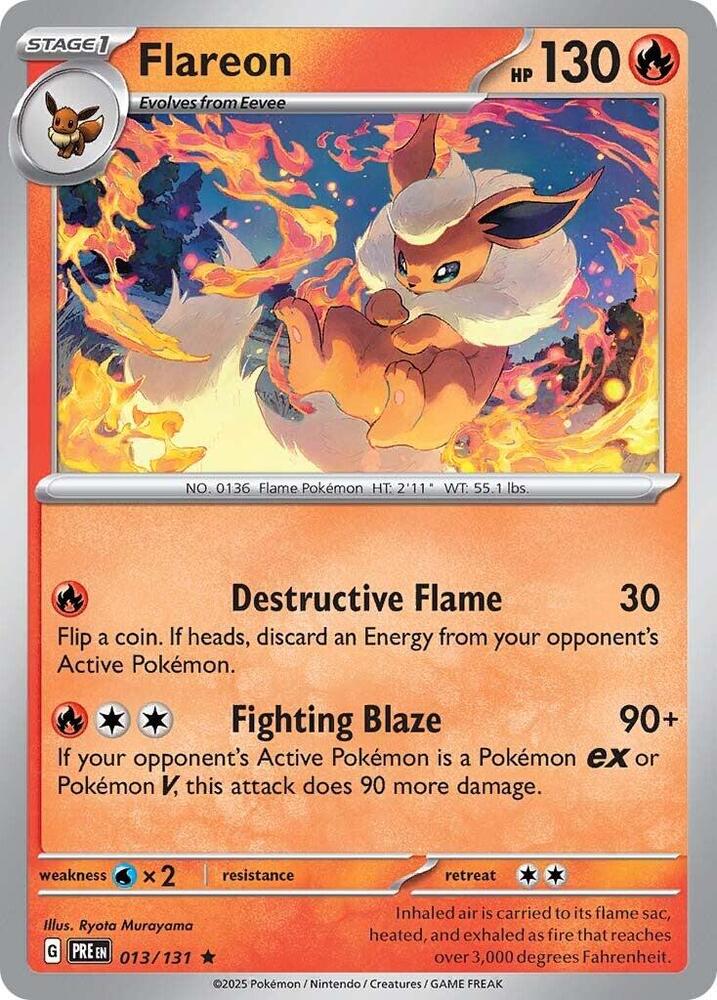 x2
x2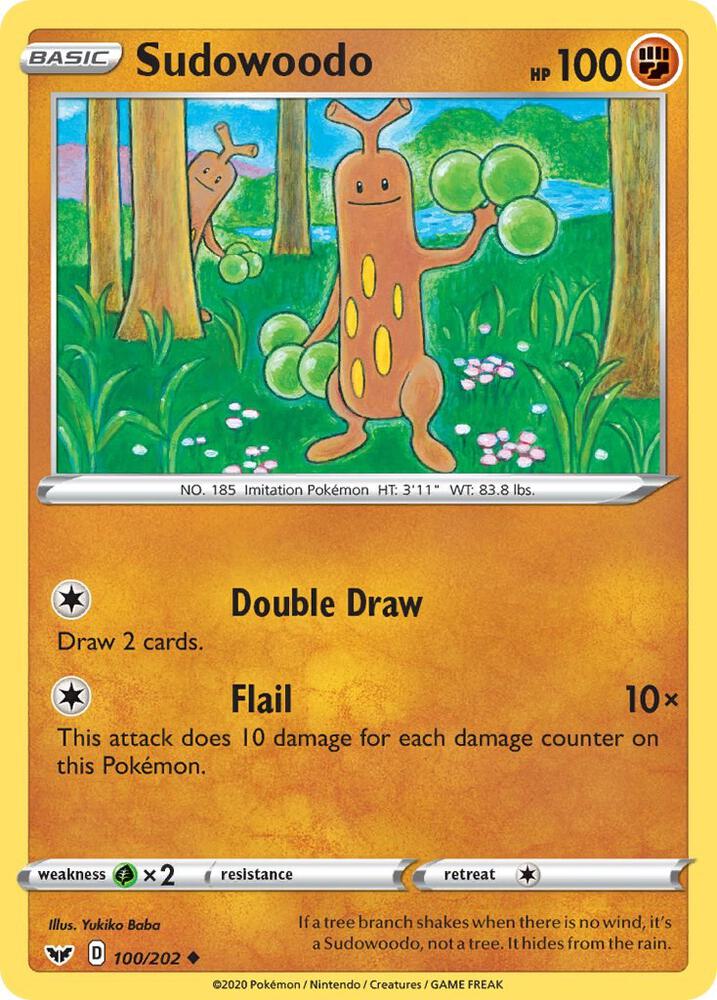 x2
x2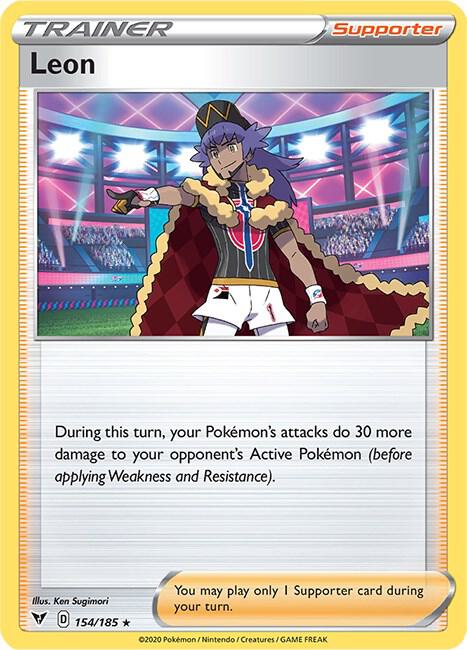 x4
x4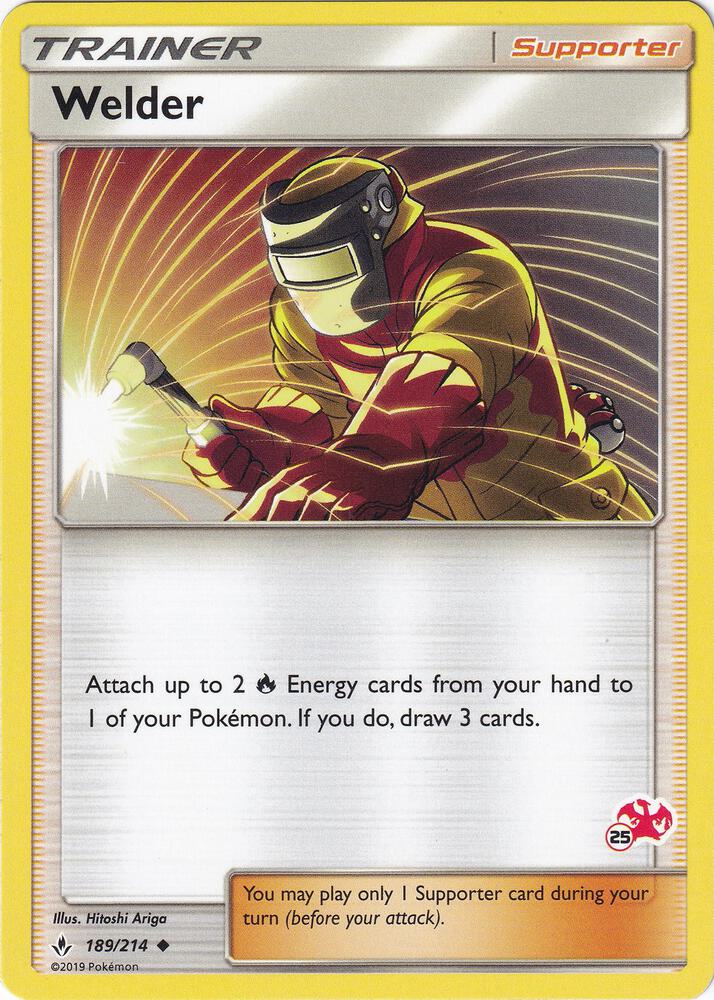 x2
x2![Professor's Research [Professor Oak]](./assets/610477_professors-research-professor-oak.jpg) x3
x3![Boss's Orders [Ghetsis]](./assets/654453_bosss-orders-ghetsis.jpg) x3
x3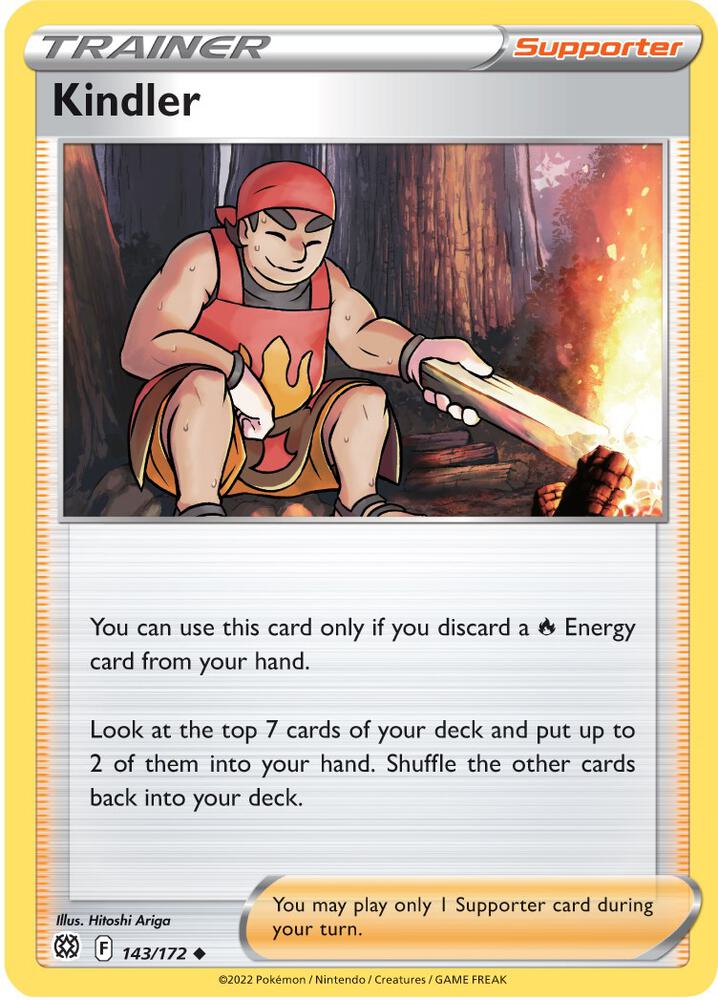 x2
x2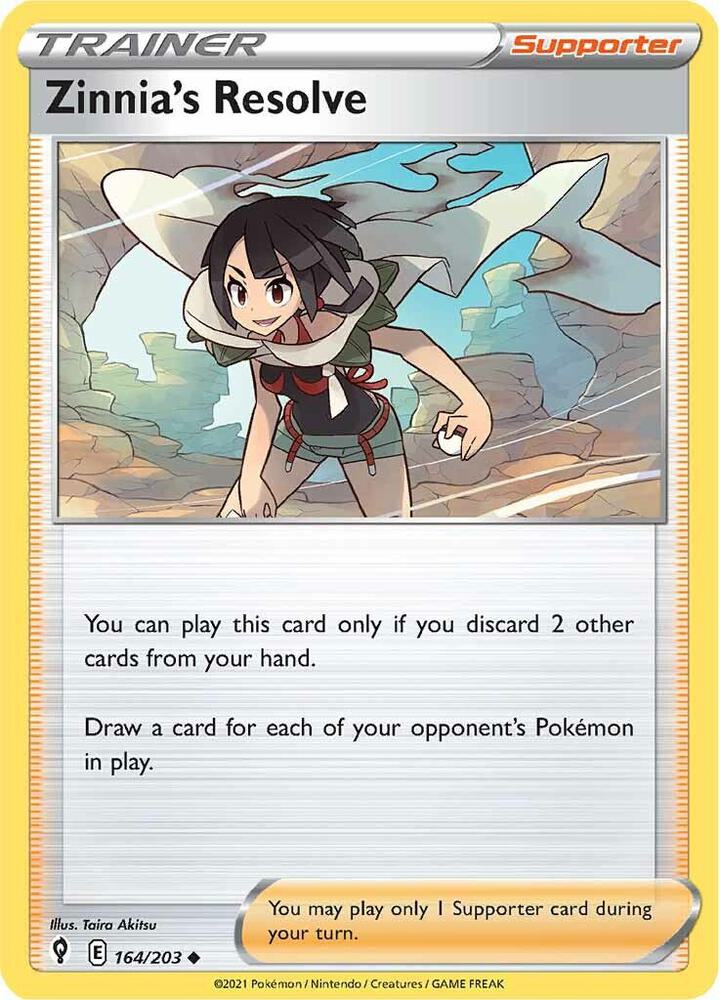
 x4
x4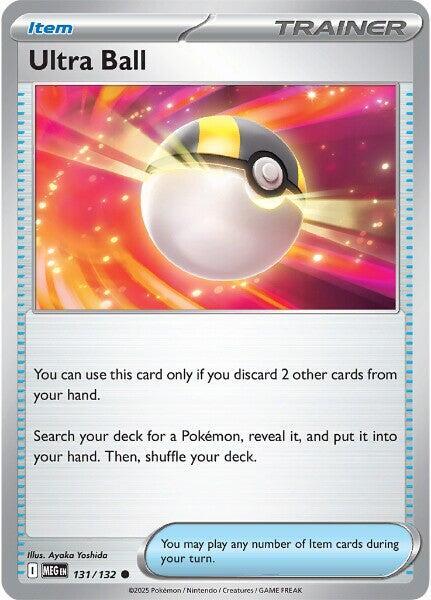 x3
x3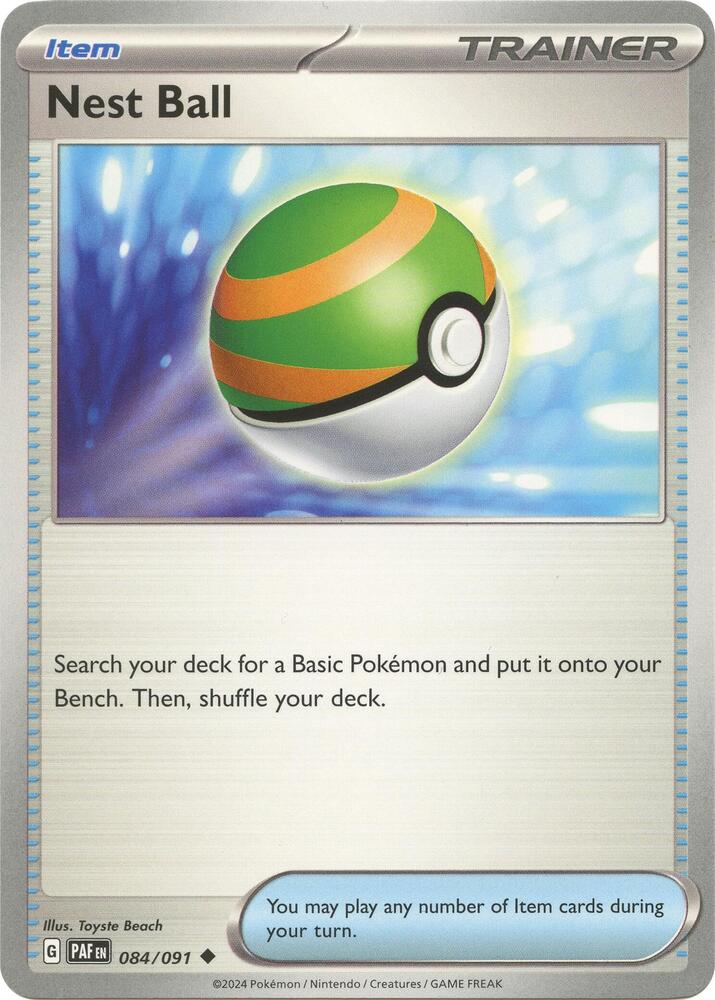 x3
x3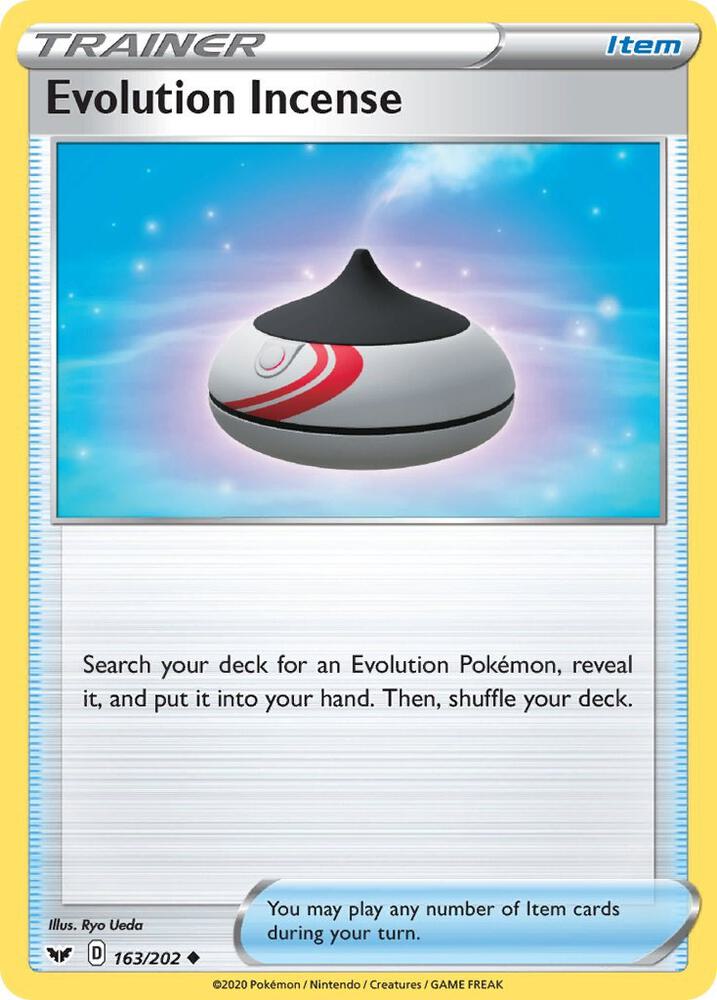
 x2
x2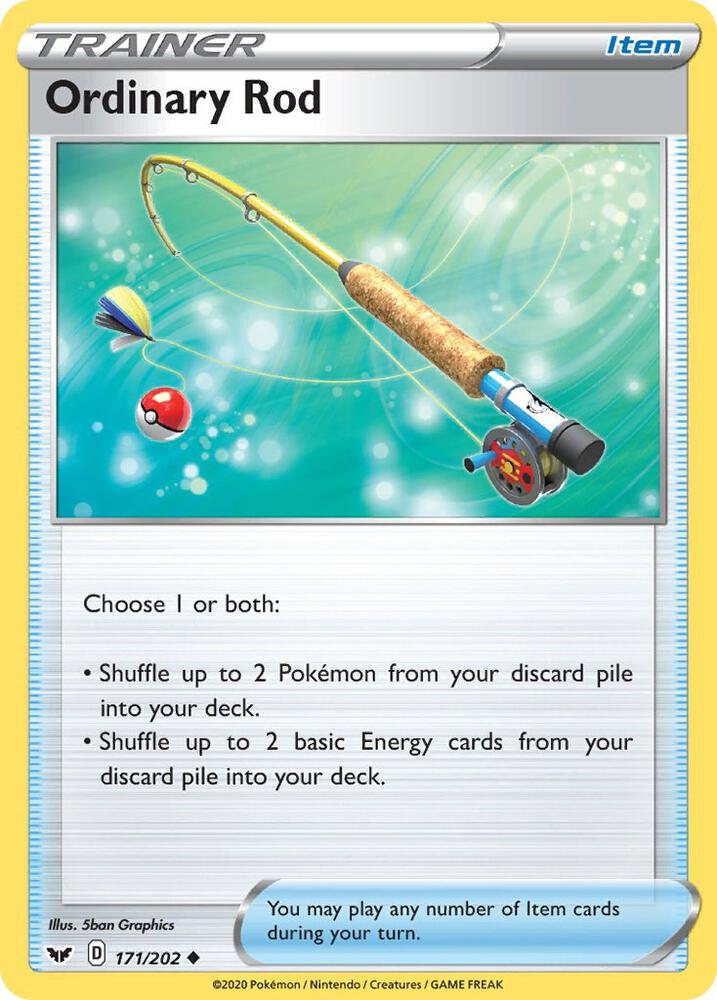
 x2
x2 x13
x13 Fox's Fire Force
 x4x2x3x3x2x2x4x2x3x3x2x4x3x3x2x2x13
Pokémon (16)
| Qty | Card | Set | Number | Reg |
|---|---|---|---|---|
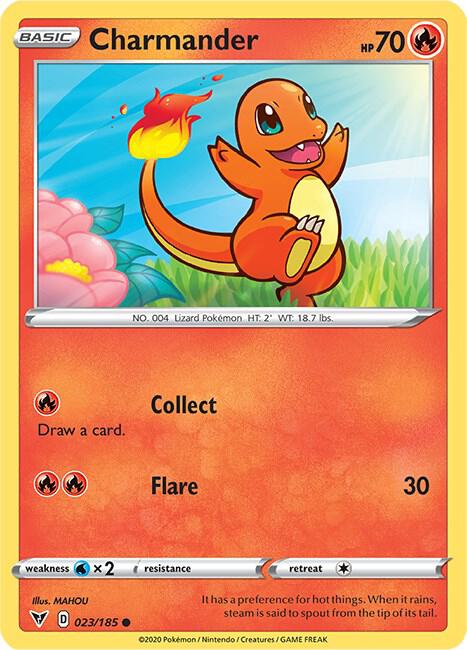
| 4 | Charmander | Vivid Voltage | 023 | D |
| 2 | Charmeleon | Vivid Voltage | 024 | D |
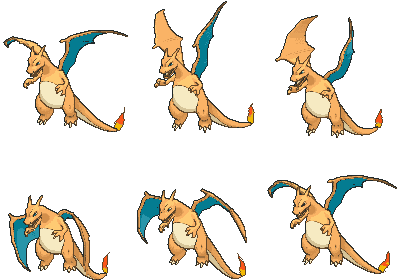
| 3 | Charizard | Vivid Voltage | 025 | D |
| 3 | Eevee | Prismatic Evolutions | 074 | H |
| 2 | Flareon | Prismatic Evolutions | 013 | G |
| 2 | Sudowoodo | Sword & Shield Base Set | 100 | D |
Trainers — Supporters (15)
| Qty | Card | Set | Number | Reg |
|---|---|---|---|---|
| 4 | Leon | Vivid Voltage | 154 | D |
| 2 | Welder | Battle Academy | 189 | — |
| 3 | Professor's Research [Professor Oak] | Prismatic Evolutions | 122 | G |
| 3 | Boss's Orders [Ghetsis] | Mega Evolution | 114 | I |
| 2 | Kindler | Brilliant Stars | 143 | F |
| 1 | Zinnia's Resolve | Evolving Skies | 164 | E |
Trainers — Items (14)
| Qty | Card | Set | Number | Reg |
|---|---|---|---|---|
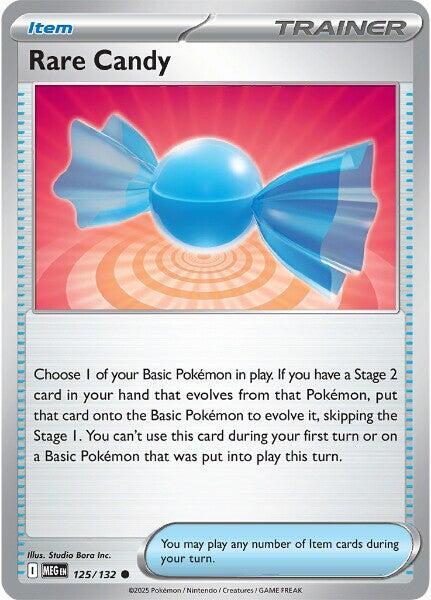
| 4 | Rare Candy | Mega Evolution | 125 | I |
| 3 | Ultra Ball | Mega Evolution | 131 | I |
| 3 | Nest Ball | Paldean Fates | 084 | G |
| 1 | Evolution Incense | Sword & Shield Base Set | 163 | D |
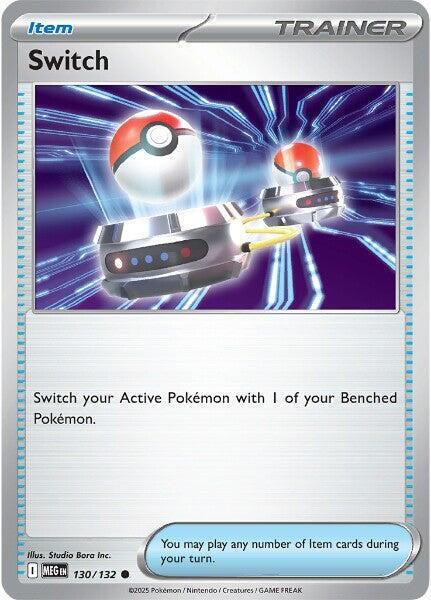
| 2 | Switch | Mega Evolution | 130 | I |
| 1 | Ordinary Rod | Sword & Shield Base Set | 171 | D |
Trainers — Tool & Stadium (2)
| Qty | Card | Set | Number | Reg |
|---|---|---|---|---|
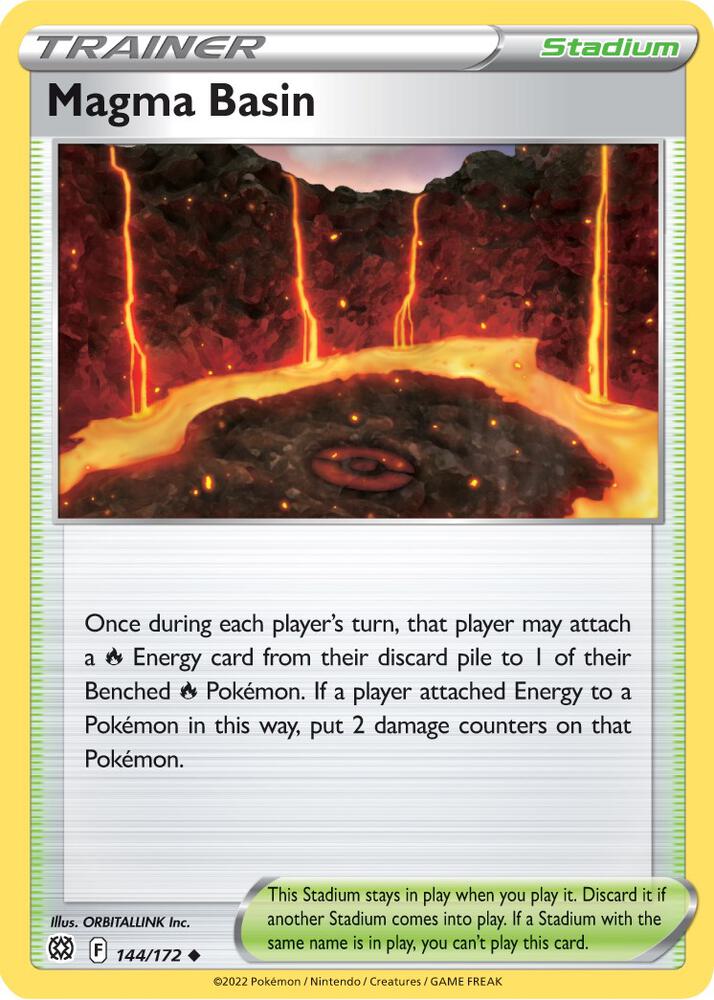
| 2 | Magma Basin | Brilliant Stars | 144 | F |
Energy (13)
| Qty | Card | Set | Number | Reg |
|---|---|---|---|---|
| 13 | Basic Fire Energy | Mega Evolution Energies | 002 | — |
16 + 15 + 14 + 2 + 13 = 60. ✓

 Fire
Fire Water ×2
 1 — Draw a card. 30
charmander → charmeleon → charizard
Charmander is a seed. Its job is to sit on your Bench early so you can grow a Charizard on top of it later. That's it. Don't expect it to fight.
You have 4 because you can't build a Charizard without one, and because you need a Basic Pokémon in your opening hand or you have to mulligan.
Play more than one. The most common beginner mistake is putting down one Charmander and saving the rest "for later." Don't. Your dad can only knock out one Pokémon per turn. Every Charmander you didn't bench is a Charizard you can't build.
Two or three Charmander on the Bench early is not being greedy. It's insurance.
Collect costs one Fire Energy and draws a card. It's a real option on a turn where you have nothing better to do — but if you're attacking with Charmander, something has already gone wrong.
 FireWater ×22 20 60 — Discard the top 3 cards of your deck.
charmander → charmeleon → charizard
Charmeleon is the slow road to Charizard. When you have a Rare Candy, you skip right past him. When you don't, he's how you get there anyway.
You only have 2 because he's the backup plan, not the main plan.
Here's the timing rule that matters most: Rare Candy can't be used on your first turn, and can't be used on a Basic you played that same turn.
So if you can't Rare Candy yet, evolving Charmander → Charmeleon is still a good play. A Charmeleon on turn two is a Charizard on turn three. A Charmander sitting there hoping for a Rare Candy might be a Charizard on turn three... or might still be a Charmander on turn six.
Don't use Raging Flames unless you have to. 60 damage sounds nice, but throwing away the top 3 cards of your deck can lose you a Charizard, a Leon, or an Energy you needed. Slash for 20 is often the smarter attack while you wait.
FireWater ×23Royal Blaze 100+— Does 50 moredamage for each Leoncard in your discard pile.charmander → charmeleon → charizard
This is your best card and the whole point of the deck. 170 HP is the biggest number on either side of the table.
Royal Blaze starts at 100 damage for just two Fire Energy. Then it gets bigger every time a Leon card ends up in your discard pile. Learn this table — it's the most important math in your deck:
Your dad's Gengar and Weezing both have 130 HP. So with just one Leon in your discard pile, Royal Blaze knocks out anything he has, in one hit. That's the number to aim for.
Battle Sense is free every single turn. Use it every turn. It costs nothing, it doesn't end your turn, and it digs you toward what you need.
Use Battle Sense before you do anything else, every turn. It's the most-forgotten card text in the deck. Look at 3, keep 1. Even when you already know what you want to do, look first — you might find something better. Just remember the other 2 cards get discarded, so don't do it when you can't afford to lose them.
Get the Energy on before Charizard arrives. Charizard needs . If it walks into the Active Spot with nothing attached, it just stands there for two turns getting hit. Load a benched Charmander or Charmeleon with Energy first, or use Welder the same turn Charizard shows up.
That retreat cost of 3 is a real weakness, and your dad's deck knows it. His Weezing makes your Active Pokémon Confused, and Confused only wears off when the Pokémon leaves the Active Spot. A Confused Charizard is stuck flipping coins unless you spend a Switch on it. Keep a Switch in hand when you can.

 Colorless
 Fighting ×21Reckless Charge 30— This Pokémon also does 10 damage to itself.
eevee → flareon
(Eevee can evolve into lots of things. In this deck, it becomes Flareon.)
Eevee's Ability breaks one of the game's biggest rules. Normally you cannot evolve a Pokémon on the turn you play it. Eevee can — as long as it's in the Active Spot.
That means: play Eevee Active, evolve it into Flareon right away. A Stage 1 attacker on turn one. Nothing else in your deck is that fast.
Read the Ability really carefully. It says Active Spot. An Eevee on the Bench is a normal, boring Eevee — you have to wait a full turn to evolve it. An Eevee in the Active Spot can turn into Flareon immediately.
So if you want the fast Flareon, play Eevee as your Active Pokémon, not to the Bench.
50 HP is tiny. It's the smallest number in either deck. Your dad's Gengar does 130 damage pretty easily, so an Eevee left sitting around is a free Prize card for him. Either evolve it fast or accept that you're using it as a shield.
Careful with Reckless Charge. 30 damage is okay, but the 10 damage to itself means Eevee is now at 40 HP and even easier to knock out. Only do it if you're fine losing that Eevee.
 FireWater ×22 30 — Flip a coin. If heads, discard an Energy from your opponent's Active Pokémon. 90+ — Does 90 more if your opponent's Active Pokémon is a Pokémon ex or V.
eevee → flareon
Flareon is your early attacker. It shows up way faster than Charizard and it hits hard enough to matter — 130 HP is the same as your dad's Gengar and Weezing.
Its real weapon is Destructive Flame. Only 30 damage, but on heads it throws away one of his Energy cards.
Destructive Flame is better than it looks, and here's why. Your dad's deck has only 12 Energy cards in 60, and he can only attach 1 per turn. Every Energy you knock off is a whole turn of his stolen. Doing that to a Weezing he's setting up can wreck his big two-turn combo.
It's a coin flip, so it won't always work. Do it anyway — 30 damage plus a 50% chance to ruin his turn is a fine deal.

 Fighting
 Grass ×21 — Draw 2 cards. — Does 10 damage for each damage counter on this Pokémon.
sudowoodo (doesn't evolve)
Sudowoodo is the secret weapon, and it is the card your dad is most scared of. Here's why:
Sudowoodo is a Fighting type. Every single Pokémon in your dad's deck is Weak to Fighting ×2.
That means Sudowoodo's damage gets doubled against Gastly, Haunter, Gengar, Koffing, and Weezing. All of them.
And Flail gets stronger the more beaten up Sudowoodo is. Every damage counter on Sudowoodo is 10 more damage — then doubled.
Learn this table. It wins games.
| Damage on Sudowoodo | Flail does | Doubled vs Dark Pokémon |
|---|---|---|
| 20 | 20 | 40 |
| 40 | 40 | 80 |
| 50 | 50 | 100 |
| 70 | 70 | 140 ← knocks out Gengar or Weezing |
| 90 | 90 | 180 |
At 70 damage taken, Sudowoodo one-shots anything your dad has. For one Energy. Any Energy.
So Sudowoodo is a revenge attacker. You want it to get hurt. The plan:
Free bonus: his own Stadium helps you. His Risky Ruins puts 2 damage counters on your Basic Pokémon when you bench them. On Sudowoodo, that's 20 free Flail damage — 40 after doubling. His own card arms your best weapon. Don't tell him.
The danger: Sudowoodo only has 100 HP. At 70 damage it's terrifying, but it's also 30 away from dying. You get about one shot. Make it count — use Boss's Orders to drag out the Pokémon you most want gone, then Flail it.
Leon does two jobs at once, and the second one is the sneaky part.
Job 1 (right now): every attack you make this turn does +30 damage.
Job 2 (forever after): when your turn ends, the Leon card goes to your discard pile — and Charizard's Royal Blaze does 50 more damage for each Leon in your discard pile.
So Leon isn't a card you "use up." Using it is how you power up Charizard. Every Leon you play makes every future Royal Blaze permanently stronger.
The +30 lands before the doubling. That matters a lot. The card says "before applying Weakness and Resistance." So if you Leon up a Sudowoodo Flail, the +30 gets added first and then the whole thing doubles. That's a hidden +60.
The first Leon is the most important one. Look at the jump:
Getting that first Leon into the discard is the single biggest power spike in your deck.
The perfect first Charizard turn: play Leon, then attack with Royal Blaze. 100 + 30 = 130, which knocks out a Gengar or a Weezing exactly. And the Leon you just played is now in your discard, so next turn Royal Blaze does 150 all by itself.
You have 4 Leons. Play them freely. They're worth more used than saved.
Welder is the strongest card in either deck. It breaks the biggest rule in the game.
Normally you attach 1 Energy per turn. Welder attaches 2 more — and then draws you 3 cards for doing it.
Two Fire Energy is exactly what Charizard's Royal Blaze costs. So Welder can turn a bare Charizard into a fully-loaded Charizard in one turn.
in one turn. This is the dream.Save it for the big turn. Don't Welder a Charmander on turn one just because you can. Welder is worth the most when it turns "my Charizard can't attack" into "my Charizard attacks right now." Hold it until that turn exists.
Remember it still uses your Supporter for the turn. A turn where you Welder is a turn you cannot play Leon. So think it through: is it better to power up Charizard this turn, or hit 30 harder this turn? Usually the answer is get the Energy down first — you can Leon next turn.
The big reset. Throw your whole hand away, draw 7 fresh cards. Simple and powerful.
But in this deck, discarding is sometimes a bonus. You are one of the few decks that wants things in its discard pile:
Best time to play it: when your hand is down to 1 or 2 useless cards. Trading 2 junk cards for 7 fresh ones is fantastic. Trading 6 good cards for 7 random ones usually isn't.

This is how you choose who you fight.
Your dad puts a big healthy Pokémon in front and hides the hurt ones on his Bench. Boss's Orders reaches past the big one and drags out whoever you want.
This is your finishing card. Late in the game, when you need one more Prize to win, the answer is almost always Boss's Orders. He hides a hurt Pokémon on the Bench thinking it's safe. It isn't.
Use it on Gengar before it grows up. Your dad's Gengar has an Ability called Infinite Shadow: if it gets knocked out, it goes back to his hand instead of the discard pile, and it brings its whole family with it. Annoying!
But that only helps him after it's already a Gengar. If you Boss's Orders a Gastly off his Bench and knock it out while it's still small, there's no Gengar yet — so nothing comes back. Killing the little ones early is worth more than it looks.

Dig deep. Throw away one Fire Energy, then look at the top 7 cards of your deck and keep any 2 you like.
Seven cards is a lot. You will almost always find something good.
Kindler + Magma Basin is a real combo, and it's a good one to learn. On its own, Kindler costs you an Energy card. But if Magma Basin is on the table, that Energy isn't gone — it's just moved to a place where Magma Basin can pick it up and attach it to a benched Fire Pokémon.
You paid nothing and looked at 7 cards. That's a great deal.
You must have a Fire Energy in hand. If you don't, you can't play Kindler at all — it's a dead card. Keep that in mind before you dump your whole hand to Professor's Research.
Pick carefully from the 7. You only keep 2, and the rest get shuffled back. Usually the right picks are: whatever you need to attack this turn, plus whatever you need to attack next turn.

The bigger your dad's board, the more cards you draw. "In play" means everything — his Active Pokémon and his whole Bench.
His deck loves a big Bench. He plays Gastly and Koffing everywhere so his Gengar hits harder. Every one of those is a card for you.
How many cards is it really? Count his side of the table:
He can have at most 6 — 1 Active plus 5 on the Bench. So Zinnia's Resolve tops out at 6 cards.
Wait for his board to fill up. Playing this on turn one when he has one lonely Gastly out draws you 1 card and costs you 2. That's terrible. Playing it on turn four against a full board draws 6.
Pick your discards on purpose. You have to throw away 2 cards. Best choices: a spare Leon (goes where you want it anyway) and a spare Fire Energy (Magma Basin can get it back). Worst choices: your only Charizard, your only Rare Candy.
You only have 1 of this card, so there's no rush. Wait for the great turn.
A time machine. Charmander goes straight to Charizard, and Charmeleon never happens. It turns a three-turn wait into one turn.
The fastest legal Charizard is turn two: bench Charmander on turn one, Rare Candy on turn two.
Don't Rare Candy a Charmander that's Active and about to die. If you put your Charizard on top of a Charmander that's one hit from being knocked out, your dad takes a Prize card and your Charizard in the same turn. Rare Candy the Charmander on your Bench, and bring Charizard out when you choose.
Finds any Pokémon in your deck. Basic, Stage 1, Stage 2 — doesn't matter. The price is throwing away 2 cards from your hand first.
You must be able to pay. With fewer than 2 other cards in hand, you can't play it at all.
Discard smart, and the cost almost disappears. The perfect Ultra Ball discards a spare Leon (which powers up Royal Blaze) and a spare Fire Energy (which Magma Basin can put back into play). You just paid nothing.
Never discard: your last Rare Candy, your last Charizard, or a Supporter you were about to play.
Play it before your Supporter. Once you know what you found, you'll know which Supporter you actually want.

Free and easy. Grab a Basic Pokémon out of your deck and put it straight onto the Bench — no cost, no discard, no Energy.
It goes to the Bench, not the Active Spot. That's almost always what you want — but it's the one thing to watch with Eevee. Eevee's Boosted Evolution Ability only works in the Active Spot. A Nest Ball Eevee lands on the Bench and can't use it.
If you want the fast Flareon, play Eevee from your hand as your Active Pokémon instead.
Turn one, use these first. Nest Ball costs you nothing, so there's never a reason to hold it. Get your board built.
Finds any Pokémon that isn't a Basic. In your deck that means: Charmeleon, Charizard, or Flareon.
It's like Ultra Ball but you don't have to discard anything. The trade is that it can't get Basics.
Free is a big deal. No discard cost means you can play this when your hand is nearly empty, which is exactly when Ultra Ball stops working. Keep that difference in mind.
You only have 1. Save it for the turn you actually need a specific evolution. If you already have a Charizard in hand, don't waste it.
Free retreat. Move your Active Pokémon to the Bench and bring out whoever you want, without paying any Energy.
Only 2 copies, so don't waste them. Save Switch for a stuck attacker or a Confusion problem — not just to shuffle things around.
Switch also saves a Pokémon that's about to die. If your Charizard is at 20 HP and it's his turn next, Switching it to the Bench means he has to knock out something else first.
The undo button. Takes up to 2 Pokémon and up to 2 Energy back out of your discard pile — that's up to 4 cards — and shuffles them into your deck.
Save it for when you actually need it. You only have 1. Playing it on turn two to rescue one Charmander is a waste. Playing it late, when both your Charizards are dead and you're running low on Energy, can win the game.
"Basic Energy" means your Fire Energy. All 13 of your Energy cards are Basic, so any of them can come back.
Extra Energy, every single turn, out of your discard pile. This is the closest thing you have to unlimited fuel.
It costs you 2 damage counters (20 damage) on whatever you attach to, and it only works on Benched Fire Pokémon.
Remember: Bench only. You can't use Magma Basin on your Active Pokémon. So power things up before they go out to fight.
Sudowoodo can't use it either. Sudowoodo is a Fighting Pokémon, not a Fire one. Magma Basin skips it.
The Stadium war. Your dad plays Risky Ruins, which is also a Stadium — and only one Stadium can be on the table at a time. Playing yours throws his away, and playing his throws yours away.
That's why you have 2. When he replaces your Magma Basin, you can put it right back. Whoever runs out of Stadiums first has to live with the other person's.
Fuel. Every attack in your deck is paid for with these.
You may attach only 1 Energy per turn from your hand. That's the rule that decides how fast your deck goes — which is exactly why Welder and Magma Basin are so good, because they get around it.
Basic Energy is the one card type with no 4-copy limit. You can play as many as you like.
Attach ahead of time. Put Energy on Pokémon while they're still on the Bench, before you need them out front. A Charizard that arrives with already attached can attack immediately. One that arrives empty stands there doing nothing for two turns while it gets hit.
This is the number one mistake new players make. Plan one turn ahead.
Fire Energy also pays for . A Colorless symbol means "any Energy." So a Fire Energy works fine for Sudowoodo's Flail and Eevee's Reckless Charge . You never need a second Energy type.
Here's what each attacker costs:
| Pokémon | Attack | Cost | Energy needed |
|---|---|---|---|
| Sudowoodo | Flail | | 1 |
| Flareon | Destructive Flame | | 1 |
| Charizard | Royal Blaze | | 2 |
| Eevee | Reckless Charge | | 2 |
| Flareon | Fighting Blaze | | 3 |
Notice that your two best attacks — Royal Blaze and Flail — only need 1 or 2 Energy. Your deck is cheaper to run than it looks.
This is your deck's main plan. If you only learn one thing, learn this.
Charizard's Royal Blaze does 50 more damage for every Leon card in your discard pile. And Leon goes to your discard pile the moment you play it.
So the more you use Leon, the stronger Charizard gets — forever.
1. Use Battle Sense (free, every turn).
2. Play LEON.                      → all your attacks do +30 this turn
3. Attack with Royal Blaze.        → 100 + 30 = 130 damage
4. Your turn ends. Leon lands in the discard pile.
130 damage knocks out his Gengar or his Weezing exactly — they both have 130 HP.
And now here's the good part. Next turn, you don't even need to play a Leon:
| Turn | Leons in discard | Royal Blaze does |
|---|---|---|
| First Charizard turn (playing a Leon) | 0 | 100 + 30 = 130 |
| Next turn | 1 | 150 |
| Turn after that (playing another Leon) | 1 | 150 + 30 = 180 |
| After that | 2 | 200 |
150 is the magic number. Once one Leon is in your discard, every Royal Blaze knocks out anything he owns in one hit, with no help. Getting there is your whole early game.
Your deck has a fast plan and a strong plan. Run both at the same time.
Charizard is a Stage 2. It takes turns to build. If you spend those turns doing nothing, you'll be three Prize cards behind before your best card even shows up.
So you have a second, faster attacker: Flareon.
| Fast plan | Strong plan | |
|---|---|---|
| Pokémon | Eevee → Flareon | Charmander → Charizard |
| Ready by | Turn 1 or 2 | Turn 3 or 4 |
| How | Play Eevee Active, evolve same turn | Bench Charmander, then Rare Candy |
| Damage | 30 (and steals Energy) | 130-200 |
| Job | Buy time, take early Prizes | Win the game |
The point: Flareon isn't supposed to win. It's supposed to keep you in the game until Charizard can.
How Sudowoodo wins you a game nobody expected.
Every Pokémon in your dad's deck — Gastly, Haunter, Gengar, Koffing, Weezing — is Weak to Fighting ×2. Sudowoodo is the only Fighting Pokémon in either deck.
So Sudowoodo's damage gets doubled. Always. Against everything he has.
And Flail does 10 damage for each damage counter on Sudowoodo itself. The more hurt it is, the harder it hits.
1. Bench Sudowoodo. Let it sit there.
2. Let your dad attack it. Now it's damaged — which is GOOD.
3. Boss's Orders to drag out whatever you most want gone.
4. Switch Sudowoodo into the Active Spot.
5. FLAIL. For one Energy.| Damage on Sudowoodo | Flail | Doubled vs his Dark Pokémon |
|---|---|---|
| 20 | 20 | 40 |
| 50 | 50 | 100 |
| 70 | 70 | 140 — knocks out Gengar or Weezing |
| 90 | 90 | 180 |
Add a Leon and it gets silly: the +30 happens before the doubling, so Leon is really +60 here. A Sudowoodo with 50 damage on it plus a Leon does (50 + 30) × 2 = 160.
The catch: Sudowoodo has only 100 HP. At 70 damage it's a monster, but it's also 30 away from dying. You get roughly one big Flail. Set it up properly and make it the one that matters.
A small fight inside the big fight.
Only one Stadium can be on the table at a time. Playing a new one throws the old one in the discard pile.
So the Stadium on the table is worth a lot to whoever put it there. You each have 2.
How to play it:
Turn one decides a lot of games. Here's how to play it.
If not, you mulligan — show your hand, shuffle it back, draw 7 more. Your dad draws 1 extra card. It's not a big deal, it's just a do-over.
Your Basics are Charmander, Eevee, and Sudowoodo — 9 of them in 60 cards. You'll mulligan roughly 3 games out of 10. That's normal. Don't get frustrated.
Put it on whatever will be attacking soonest. Usually that's the Active Eevee or Flareon.
His deck is all Darkness Pokémon. Two main threats:

It's a two-turn combo:
170 is exactly your Charizard's HP. Weezing is the one card he has that can one-shot your best Pokémon.
How to fight it: the huge 170 only works if the same Weezing used Pervasive Gas on his previous turn. So when you see a Weezing use Pervasive Gas, you have one turn to react. Knock it out, or move your Charizard somewhere safe, or accept the hit on something you don't mind losing.

Mind Jack costs one Energy and does 10 damage, plus 30 for every Pokémon on YOUR Bench.
This is the one time a big Bench is bad for you. 130 knocks out your Flareon. 160 still doesn't kill Charizard (170 HP) — Charizard is the only thing he can't one-shot with Gengar.
How to fight it: don't bench Pokémon you don't need. There's a real balance here — Zinnia's Resolve and Charizard both want you developing your board, but every extra Pokémon out there is 30 more Mind Jack damage. When Gengar is out, think before you bench.

| Card | What it does | What you do |
|---|---|---|
| Dark Bell | Confuses your Active for free | Keep a Switch around |
| Risky Ruins | 20 damage to each Basic you bench | Replace it with Magma Basin |
| Punk Helmet | You take 40 damage for attacking it | Just accept it — or knock that Pokémon out first |
| Infinite Shadow | His knocked-out Gengar goes back to his hand | You still get the Prize card. Knock it out anyway. |

The specific traps in your deck. Read this one twice.
Forgetting to use Battle Sense. It's free, every turn, and it doesn't end your turn. You just threw away a free card.
Bringing Charizard out with no Energy. It sits there for 2 turns getting hit. Load it on the Bench first.
Trying to Rare Candy on turn one. Not allowed. Ever.
Rare Candy on a Charmander you played this turn. Not allowed. It had to be there since before this turn.
Rare Candy onto an Active Charmander that's about to die. He takes a Prize and your Charizard, in one turn. Candy the benched one.
Playing Eevee to the Bench and expecting to evolve it. Boosted Evolution only works in the Active Spot.
Using Fighting Blaze expecting 180. He has no ex or V Pokémon. It's just 90. Use Destructive Flame instead.
Professor's Research with a good hand. It discards, it does not shuffle back. Those cards are gone.
Zinnia's Resolve on turn one. His board is empty. You'd discard 2 to draw 1.
Kindler with no Fire Energy in hand. You literally can't play it. Dead card.
Playing two Supporters in one turn. Not allowed. One per turn.
Attacking, then trying to do other stuff. Attacking ends your turn. Do everything else first.
Stick to this order and you'll stop forgetting things.
1. DRAW your card.
2. BATTLE SENSE  — free, every turn, if a Charizard is in play.
3. ITEMS         — as many as you want. Balls, Candy, Switch.
4. ENERGY        — attach 1 from your hand.
5. MAGMA BASIN   — 1 more Energy, from the discard, to a BENCHED Fire Pokémon.
6. EVOLVE        — put your evolutions down.
7. SUPPORTER     — only ONE. Leon? Welder? Boss's Orders?
8. ATTACK        — this ENDS your turn. Always do it last.
Why this order? Because every step gives you information for the next one. If you attack first, you lose all seven other steps. If you play your Supporter before your Items, you might pick the wrong Supporter.
The single most common mistake in this whole game is attacking too early in your turn. Attack last. Always.
A note about the cards you own that aren't in the deck.
You have a bunch of other Eevee, Charmander, Charmeleon, and Flareon cards. Some of them look cooler than the ones in your deck. Some of them have way bigger numbers.
They're still not in the deck, and it's got nothing to do with them being old. Half your deck is old — Charizard is from 2020, Welder is from 2019, Sudowoodo is from 2020. Old is fine. Old is why we could afford good cards.
Here are the actual reasons.
That's names, not versions. Every card called "Charmander" shares the same 4 slots — it doesn't matter which set it's from or what the art looks like.
You already run 4 Charmander. That's the whole allowance, used up. So these five are locked out by arithmetic, not by opinion:
| Card | HP | Why it's out |
|---|---|---|
| Charmander — Pokémon GO 008 | 60 | 4-copy limit already full |
| Charmander — Obsidian Flames 026 | 60 | 4-copy limit already full |
| Charmander — Paldean Fates 007 | 70 | 4-copy limit already full |
| Eevee — Hidden Fates 49 | 60 | See Reason 2 |
| Eevee — Twilight Masquerade 135 | 50 | See Reason 2 |
| Eevee — Shrouded Fable 050 | 70 | See Reason 2 |
This is the whole reason your Eevee is the one it is.
Eevee — Prismatic Evolutions 074 has Boosted Evolution: while it's in the Active Spot, it can evolve the turn you play it. That breaks one of the biggest rules in the game, and it's what gives you a Flareon on turn one.
Your other three Eevees — Hidden Fates, Twilight Masquerade, Shrouded Fable — have no Ability at all. They're just a small Pokémon that sits there for a full turn before it can become anything.
The Shrouded Fable one even has more HP (70 vs 50). Doesn't matter. A turn is worth more than 20 HP. Getting your attacker out a whole turn earlier beats surviving one extra poke, every time.
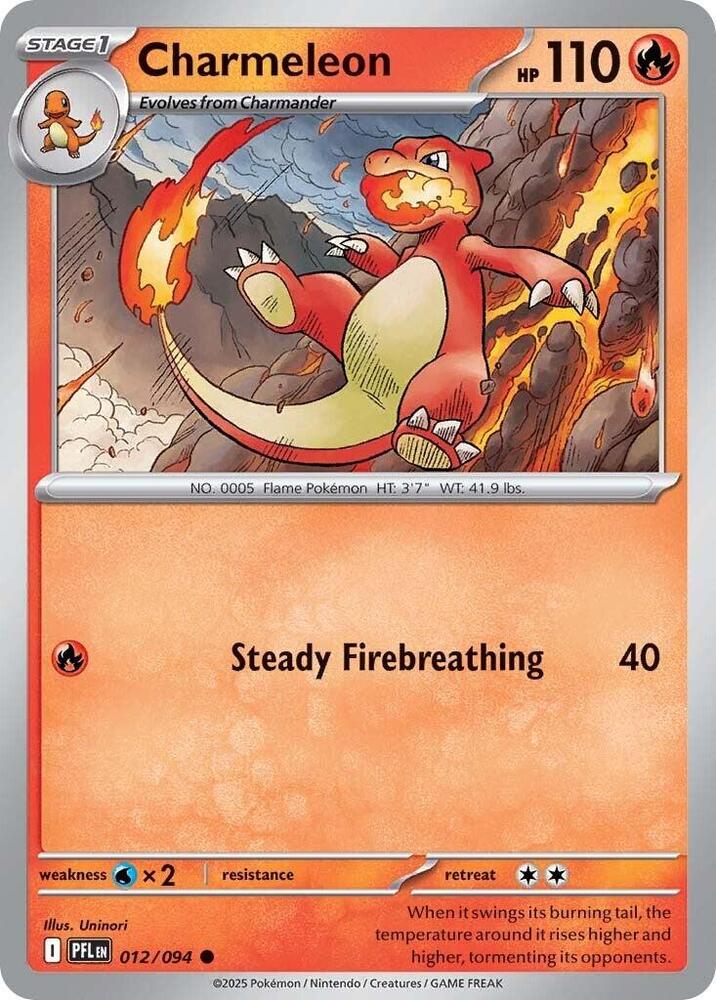
Be honest with yourself about this one, because the numbers look bad for us:
The Phantasmal Flames one has 20 more HP than yours. On paper it's just better.
So why isn't it in? Because you run 4 Rare Candy and only 2 Charmeleon. Rare Candy takes Charmander straight to Charizard and skips Charmeleon completely. Charmeleon is your backup plan for when you don't draw a Candy.
Spending your good cards on the backup plan is a mistake. The 20 extra HP only matters in the games where your main plan already failed. Meanwhile, having 2 identical Charmeleon means you always know exactly what your backup does — no surprises.
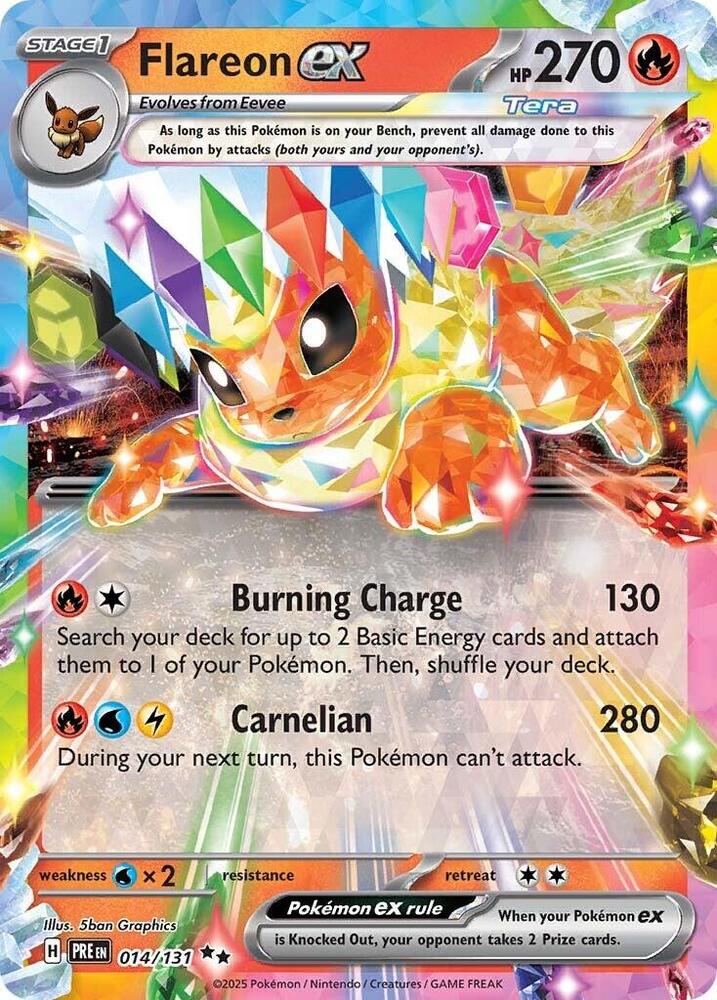
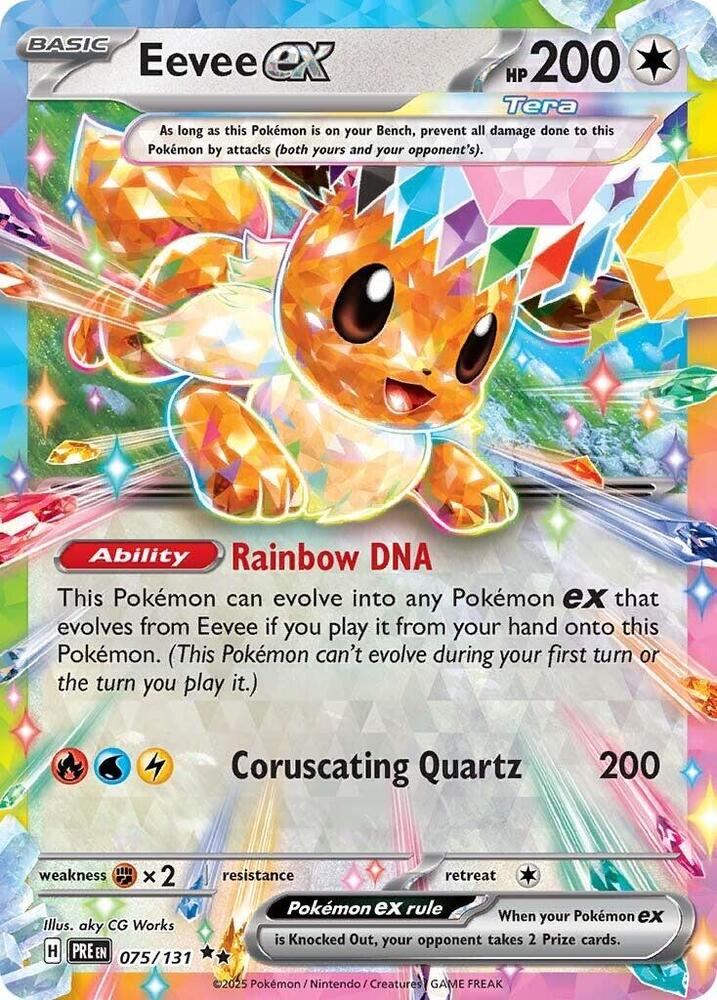
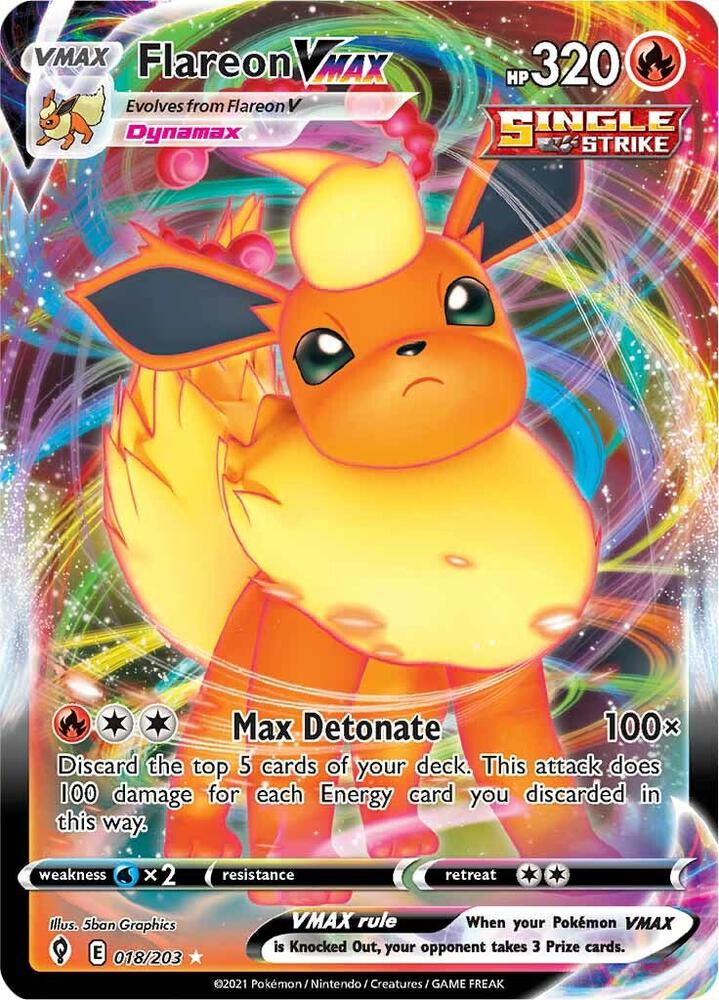
These are your best-looking, most expensive cards. Flareon ex has 270 HP. Flareon VMAX has 320. Your whole deck's biggest Pokémon is a 170 HP Charizard.
So why aren't they in? Two reasons, and neither is "they're bad."
| Your card | HP | Prizes it gives your opponent |
|---|---|---|
| Charizard | 170 | 1 |
| Eevee V | 190 | 2 |
| Flareon V | 210 | 2 |
| Eevee ex | 200 | 2 |
| Flareon ex | 270 | 2 |
| Flareon VMAX | 320 | 3 |
Your dad's entire deck is 1-Prize Pokémon. Every single one.
Games go to 6 Prize cards. So if you play a Flareon VMAX and he knocks it out, he's taken half the game from one attack. He'd only need three good turns instead of six. You'd be handing him a shortcut every time something died.